



November 5, 2025
|
5 min read


Published: July 6, 2026

Blazingly fast way to build, track and deploy your models!
Let's discuss how we can host our helm charts on GitHub pages and allow other people to use our charts on ArtifactHub. Before understanding the process we will try to understand these terms in the simplest form
Helm charts is the way you templatize your Kubernetes resources that you want to deploy. If you want to create kubernetes resource in multiple clusters (or even in the same cluster)with different values you create a template for the resources and package it. This package is known as helm chart.
GitHub Pages is a feature of GitHub that allows you to create a website or a web page hosted on GitHub servers. If you have a simple index.html file then you can host this HTML file using GitHub provided domain name which generally goes in the format username.github.io . It’s a way for you to share your work or showcase your projects online without the need for a separate web hosting service. In our case we will host our helm charts on GitHub Pages.
ArtifactHub is a web based platform that acts as a central repo for various software distributions like helm charts, OPA etc. Once we have created our helm chart, hosted it on GitHub pages, we will make it discoverable to the community by showcasing it on Artifacthub.
ArtifactHub does not host the Helm charts itself, but rather serves as a registry for Helm chart repositories. Developers can publish their Helm charts to their preferred repository, such as GitHub, GitLab, or Bitbucket, and then register their repository with ArtifactHub.
Now we will see how we can leverage the Pages features of GitHub to host our application's helm charts. In this example I am taking a sample helm charts but you can also use your own customized helm charts in the same way
We will start by creating a sample helm chart
helm create sample-nginx
We will create a public GitHub repo where we will host the charts.
charts which will contain your helm chartcharts directory is at the root level of your repositorymain branch$ tree .
.
├── README.md
└── charts
└── sample-nginx
├── Chart.yaml
├── charts
├── templates
│ ├── NOTES.txt
│ ├── _helpers.tpl
│ ├── deployment.yaml
│ ├── hpa.yaml
│ ├── ingress.yaml
│ ├── service.yaml
│ ├── serviceaccount.yaml
│ └── tests
│ └── test-connection.yaml
└── values.yaml
We have created a repo and it is hosted here:
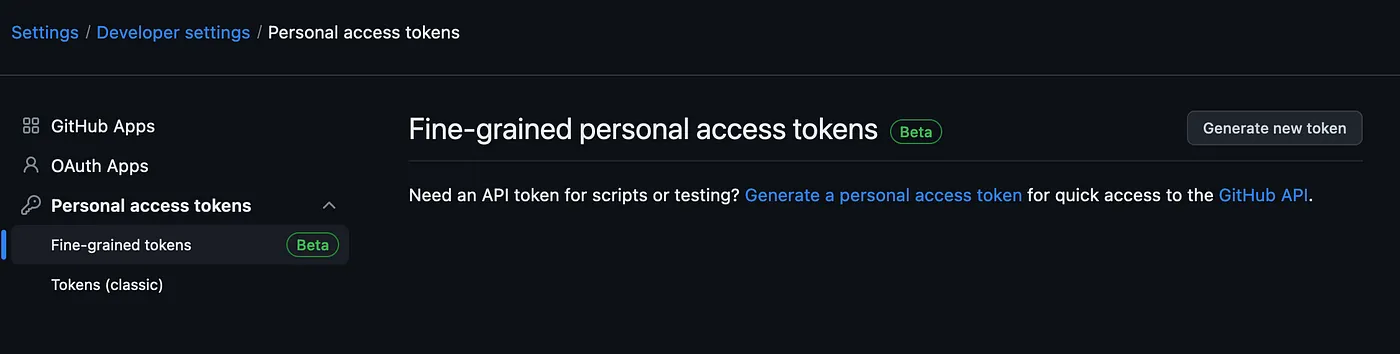
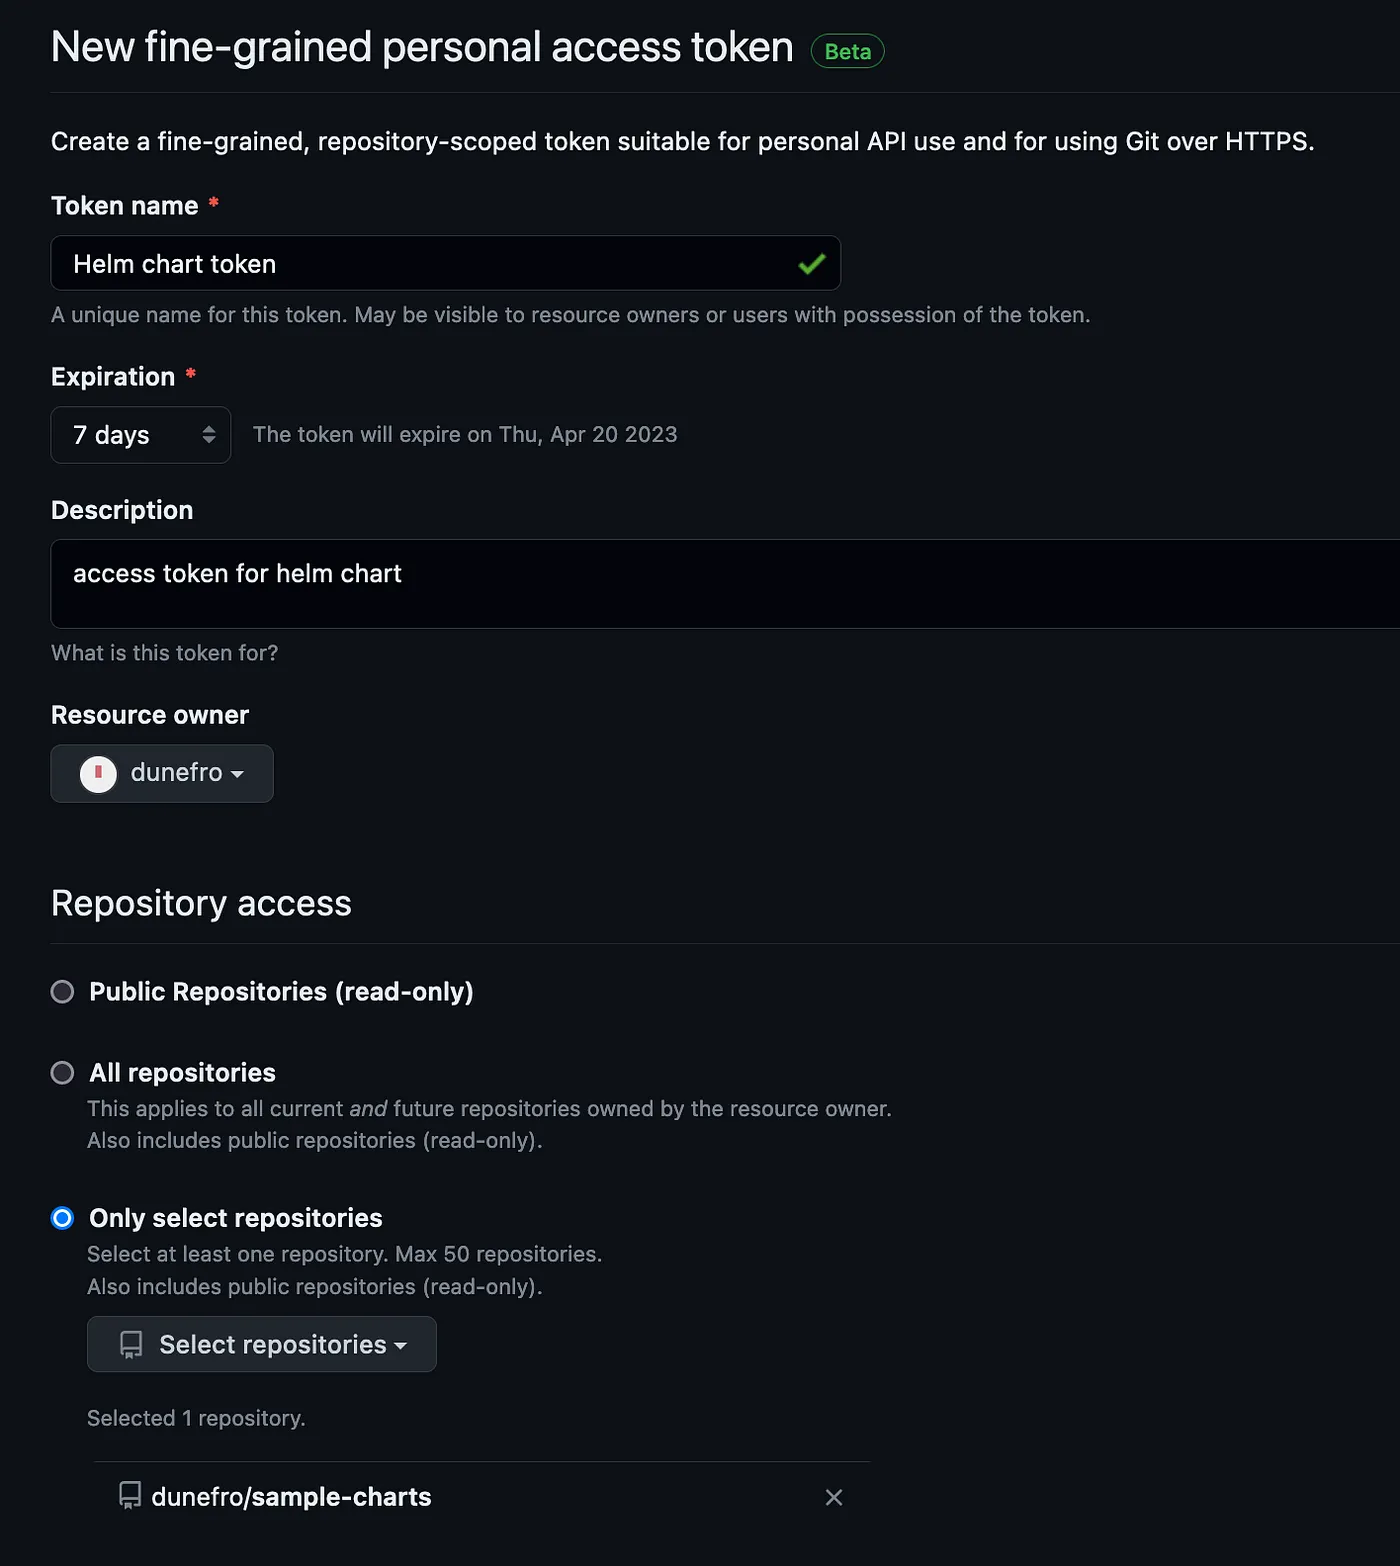
Once our charts are in the main branch we need to create a pipeline that can create a GitHub release. This GitHub release will in return publish our charts. For this we require a token to be created with specific set of permissions which will then be used in our pipeline to release charts.
Read and write for Contents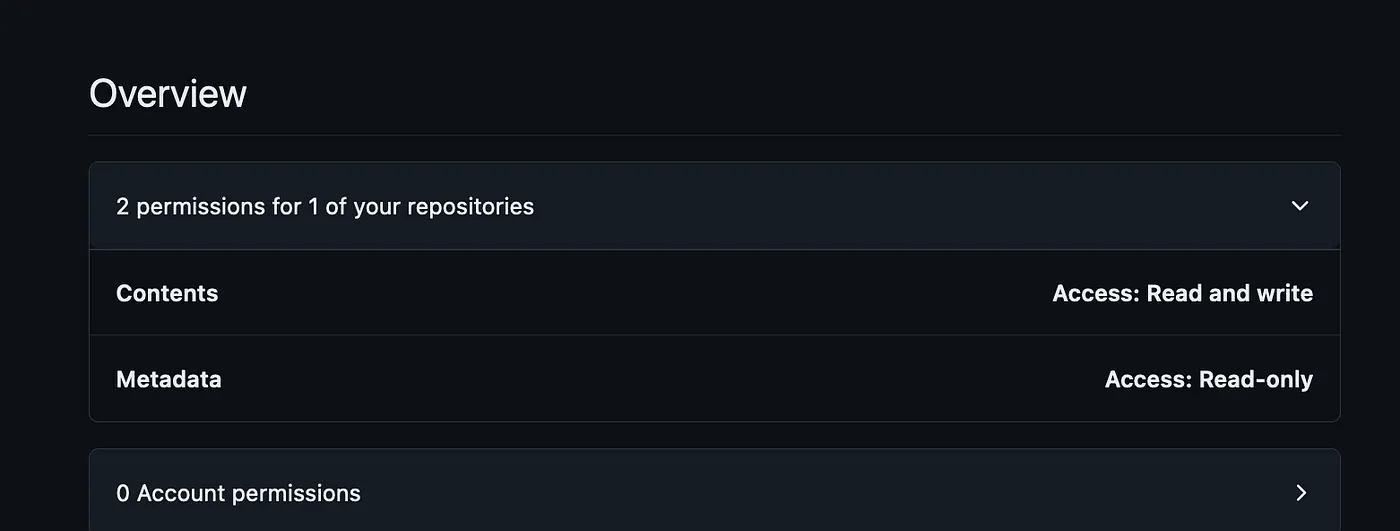
We can use GitHub Pages to host our website directly on GitHub (statically).
gh-pages and make sure to name the branch by gh-pages only.index.html to test the hosting. Push your changes to GitHub.<!DOCTYPE html>
<html>
<head>
<title>Sample charts</title>
<style>
.chart {
width: 400px;
height: 300px;
margin: 20px;
border: 1px solid #ccc;
box-shadow: 2px 2px 5px #ccc;
display: inline-block;
vertical-align: top;
padding: 10px;
box-sizing: border-box;
font-size: 14px;
line-height: 1.5;
}
.chart h3 {
margin-top: 0;
font-size: 18px;
font-weight: bold;
}
.chart p {
margin: 0;
}
</style>
</head>
<body>
<h1>チャート例</h1>
<div class="chart">
<h3>チャート1</h3>
<p>Lorem ipsum dolor sit amet, consectetur adipiscing elit. Integer euismod diam et purus hendrerit mollis.</p>
<!-- add your chart code here -->
</div>
<div class="chart">
<h3>チャート2</h3>
<p>Lorem ipsum dolor sit amet, consectetur adipiscing elit. Integer euismod diam et purus hendrerit mollis.</p>
<!-- add your chart code here -->
</div>
<div class="chart">
<h3>チャート3</h3>
<p>Lorem ipsum dolor sit amet, consectetur adipiscing elit. Integer euismod diam et purus hendrerit mollis.</p>
<!-- add your chart code here -->
</div>
</body>
</html>

gh-pages GitHubが処理するまでしばらく待ちます。処理が完了すると、同じウィンドウにURLが表示されます。それをクリックすると、 index.html 作成したものが表示されます。前のステップでは、アクセストークンを使用してGitHubリリースを作成するパイプラインについて説明しました。このタスクを実行するために任意のツールを選択できますが、ここではGitHub Actionsを選択します。GitHub Actionsは、CI/CDタスクを実行するためにGitHubでネイティブにサポートされているもう1つのツールです。
パイプラインを作成する前に、前のタスクで作成したトークンを渡すためのシークレット変数を作成します。

このトークンは、パイプラインでリリースをプッシュするために使用できるようになります。
これからGitHub Actionパイプラインを作成します。
.github/workflows リポジトリのルートレベルにある main ブランチに。release.yaml 上記のディレクトリ内に。name: チャートのリリース
on:
push:
branches:
- main
jobs:
release:
permissions:
contents: write # チャートリリースをプッシュし、リリースを作成するため (helm/chart-releaser-action)
runs-on: ubuntu-latest
steps:
- name: コードのチェックアウト
uses: actions/checkout@v3
with:
fetch-depth: 0
- name: Gitの設定
run: |
git config user.name "$GITHUB_ACTOR"
git config user.email "$GITHUB_ACTOR@users.noreply.github.com"
- name: Helmのセットアップ
uses: azure/setup-helm@v3.5
with:
version: v3.9.2
- name: chart-releaserの実行
uses: helm/chart-releaser-action@v1.5.0
env:
CR_TOKEN: "${{ secrets.HELM_RELEASE_TOKEN }}"
このパイプラインは非常にシンプルです。手早く理解していきましょう。
name — パイプラインの名前on — condition to run the pipeline, here we specify to run it on each push to main branch.jobs — the actual job that contains the pipeline code. It checks for permissions of write in contents which we have already givensteps define the pipeline steps. In which the first step is to use actions/checkout@v3 . Ideally if you are creating the pipeline you would firstly checkout the code. Rather then writing the code for checking out GitHub provides an action which can be directly used rather then writing the code.azure/setup-helm action which will set up helm for us.helm/chart-releaser-action to release the helm chart. As for release we require the secret token which we have already created and passed in the pipeline via the token name HELM_RELEASE_TOKEN . This action will also create an index.yaml in gh-pages branch which will make the GitHub page acts as a static registry for the helm charts.Now we will make very small change in the README.md file of the repository in the main branch so that the pipeline is triggered. When I pushed the changes I am able to see a small orange dot which signifies that a pipeline is running

gh-pages branch and check if index.yaml is created or not.index.yaml is a way through which helm is able to identify any statically hosted website as helm registry.pages build and deployment which is created automatically by GitHub to host the changes we make in the gh-pages branch making index.yaml available publicly. — https://dunefro.github.io/sample-charts/index.yamlTo test if our helm registry is created successfully or not
minikube cluster# add the repo
helm repo add sample-charts https://dunefro.github.io/sample-charts/
helm repo update
# install the charts
helm upgrade --install test-nginx sample-charts/sample-nginx
# check pods
$ kubectl get pods
NAME READY STATUS RESTARTS AGE
test-nginx-sample-nginx-b95bb4f46-tbppn 1/1 Running 0 30s
Our charts are working fine.
Now we will try to see how we can set up an account on ArtifactHub so that we can show our helm charts to the community. You might also find some other community charts like
Now our charts are hosted. We need to make sure they can be used from other developers via ArtifactHub.

index.yaml hosted in our pagesWe can see our repo being created and once ArtifactHub is able to pull the data it will also start to reflect in the searches. Now we want to apply the verified publisher tag something like this

For this we need to add a file artifacthub-repo.yml in the gh-pages branch as a metadata file which will be read by ArtifactHub in return verifying that we are the owner of the registry.
artifacthub-repo.yml in the gh-pages branch with the following contentsrepositoryID: 67d52f16-b102-4661-bfa5-9e6694587e24
owners: # (optional, used to claim repository ownership)
- name: Vedant Pareek
email: dunefro@gmail.com
これは、私たちが公開Helmチャートをホストしていたのと同じ方法です。 Truefoundry。TrueFoundryは MLOps、 LLMOps プラットフォームであり、機械学習モデルの開発から本番環境への移行におけるライフサイクル全体を円滑にします。モデル構築時の容易さと快適さを実現するため、機械学習ライフサイクル全体の過程で発生するあらゆる課題を考慮に入れています。
TrueFoundry AI Gateway delivers ~3–4 ms latency, handles 350+ RPS on 1 vCPU, scales horizontally with ease, and is production-ready, while LiteLLM suffers from high latency, struggles beyond moderate RPS, lacks built-in scaling, and is best for light or prototype workloads.






.png)


.png)
.png)
.png)

.png)
.png)
.png)
.png)
.png)
.png)
.png)