

What is Comet Opik?
Comet Opik is an open-source LLM observability and evaluation platform. It ingests OpenTelemetry trace spans over OTLP HTTP and renders them as LLM traces with per-call inputs, outputs, token usage, latency, and cost. It also supports evaluation, scoring, and dataset management on top of the ingested traces.Key Features of Comet Opik
- OTLP trace ingestion: Accepts OpenTelemetry spans over HTTP transport at a native OTLP endpoint, so any OTLP-compliant producer can send traces without an SDK.
- LLM trace and span views: Displays each LLM call with inputs, outputs, token breakdowns, latency, and cost, with nested spans for multi-step pipelines.
- Evaluation and scoring: Runs automated and human evaluations against traced calls and datasets built from production traffic.
Prerequisites
Before integrating Comet Opik with TrueFoundry, ensure you have:- TrueFoundry Account: Create a TrueFoundry account and follow the instructions in our Gateway Quick Start Guide
- Comet Opik Account: A Comet account for Opik Cloud, or a self-hosted / enterprise Opik deployment. You will need your API key, your workspace name, and a target project name.
Understanding the Comet Opik Endpoint
Opik exposes a native OTLP base endpoint at the path /api/v1/private/otel. The host in front of that path depends on your deployment mode:| Deployment | Base endpoint |
|---|---|
| Opik Cloud | https://www.comet.com/opik/api/v1/private/otel |
| Self-hosted | http://<YOUR-OPIK-INSTANCE>/api/v1/private/otel |
| Enterprise | https://<COMET-SERVER>/api/v1/private/otel |
Opik ingests traces only. It does not accept OTLP metrics, so you configure the Traces exporter and leave the Metrics exporter disabled. Opik also supports HTTP transport only — do not select the gRPC configuration.
Integration Steps
1
Get Your Opik API Key and Workspace
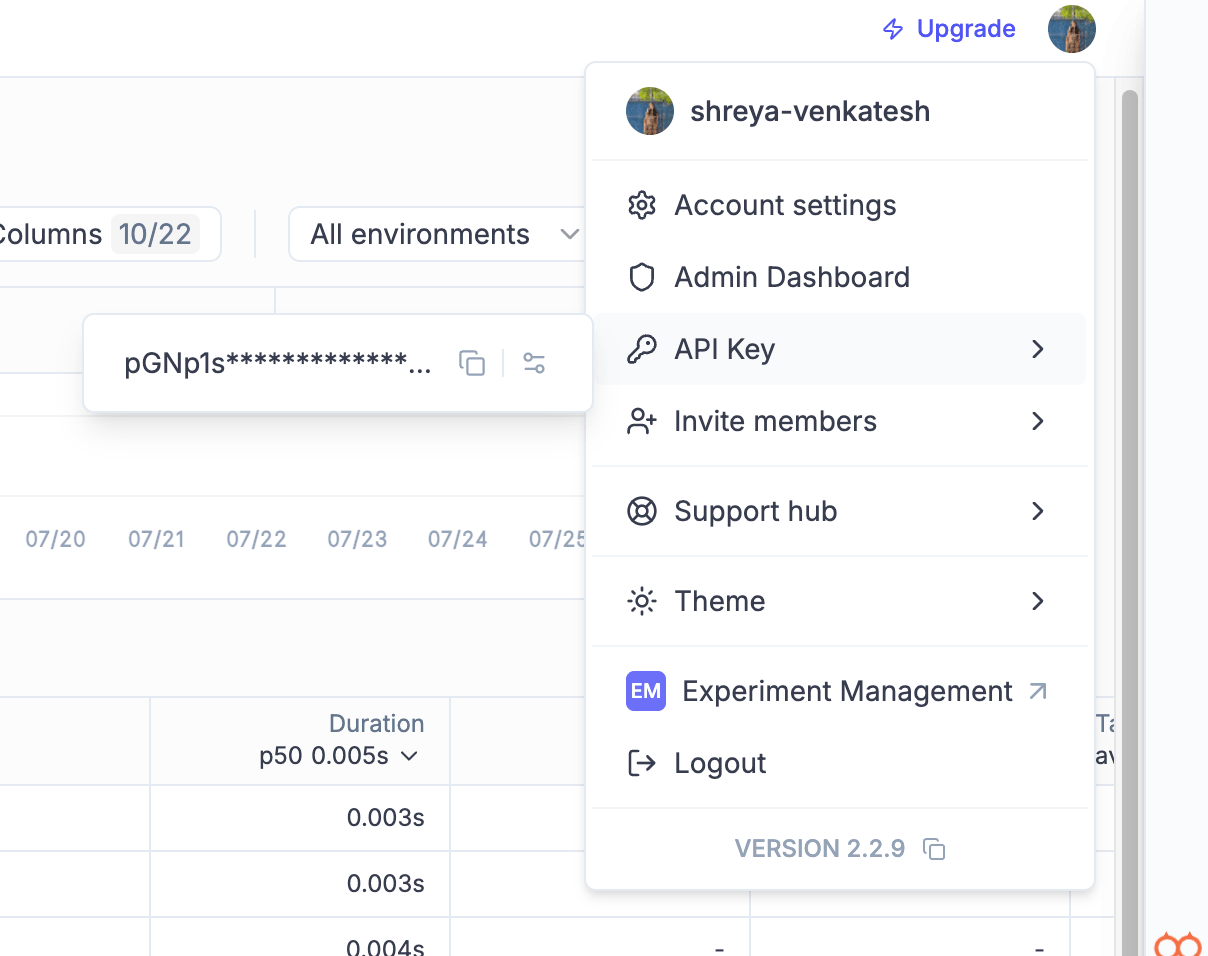
- Log into your Comet Opik account.
- Open your account settings and copy your API key.
- Note your workspace name (shown in the workspace switcher) and the project name you want traces to land in. The project is created automatically on first ingest if it does not exist.
2
Configure OTEL Export in TrueFoundry
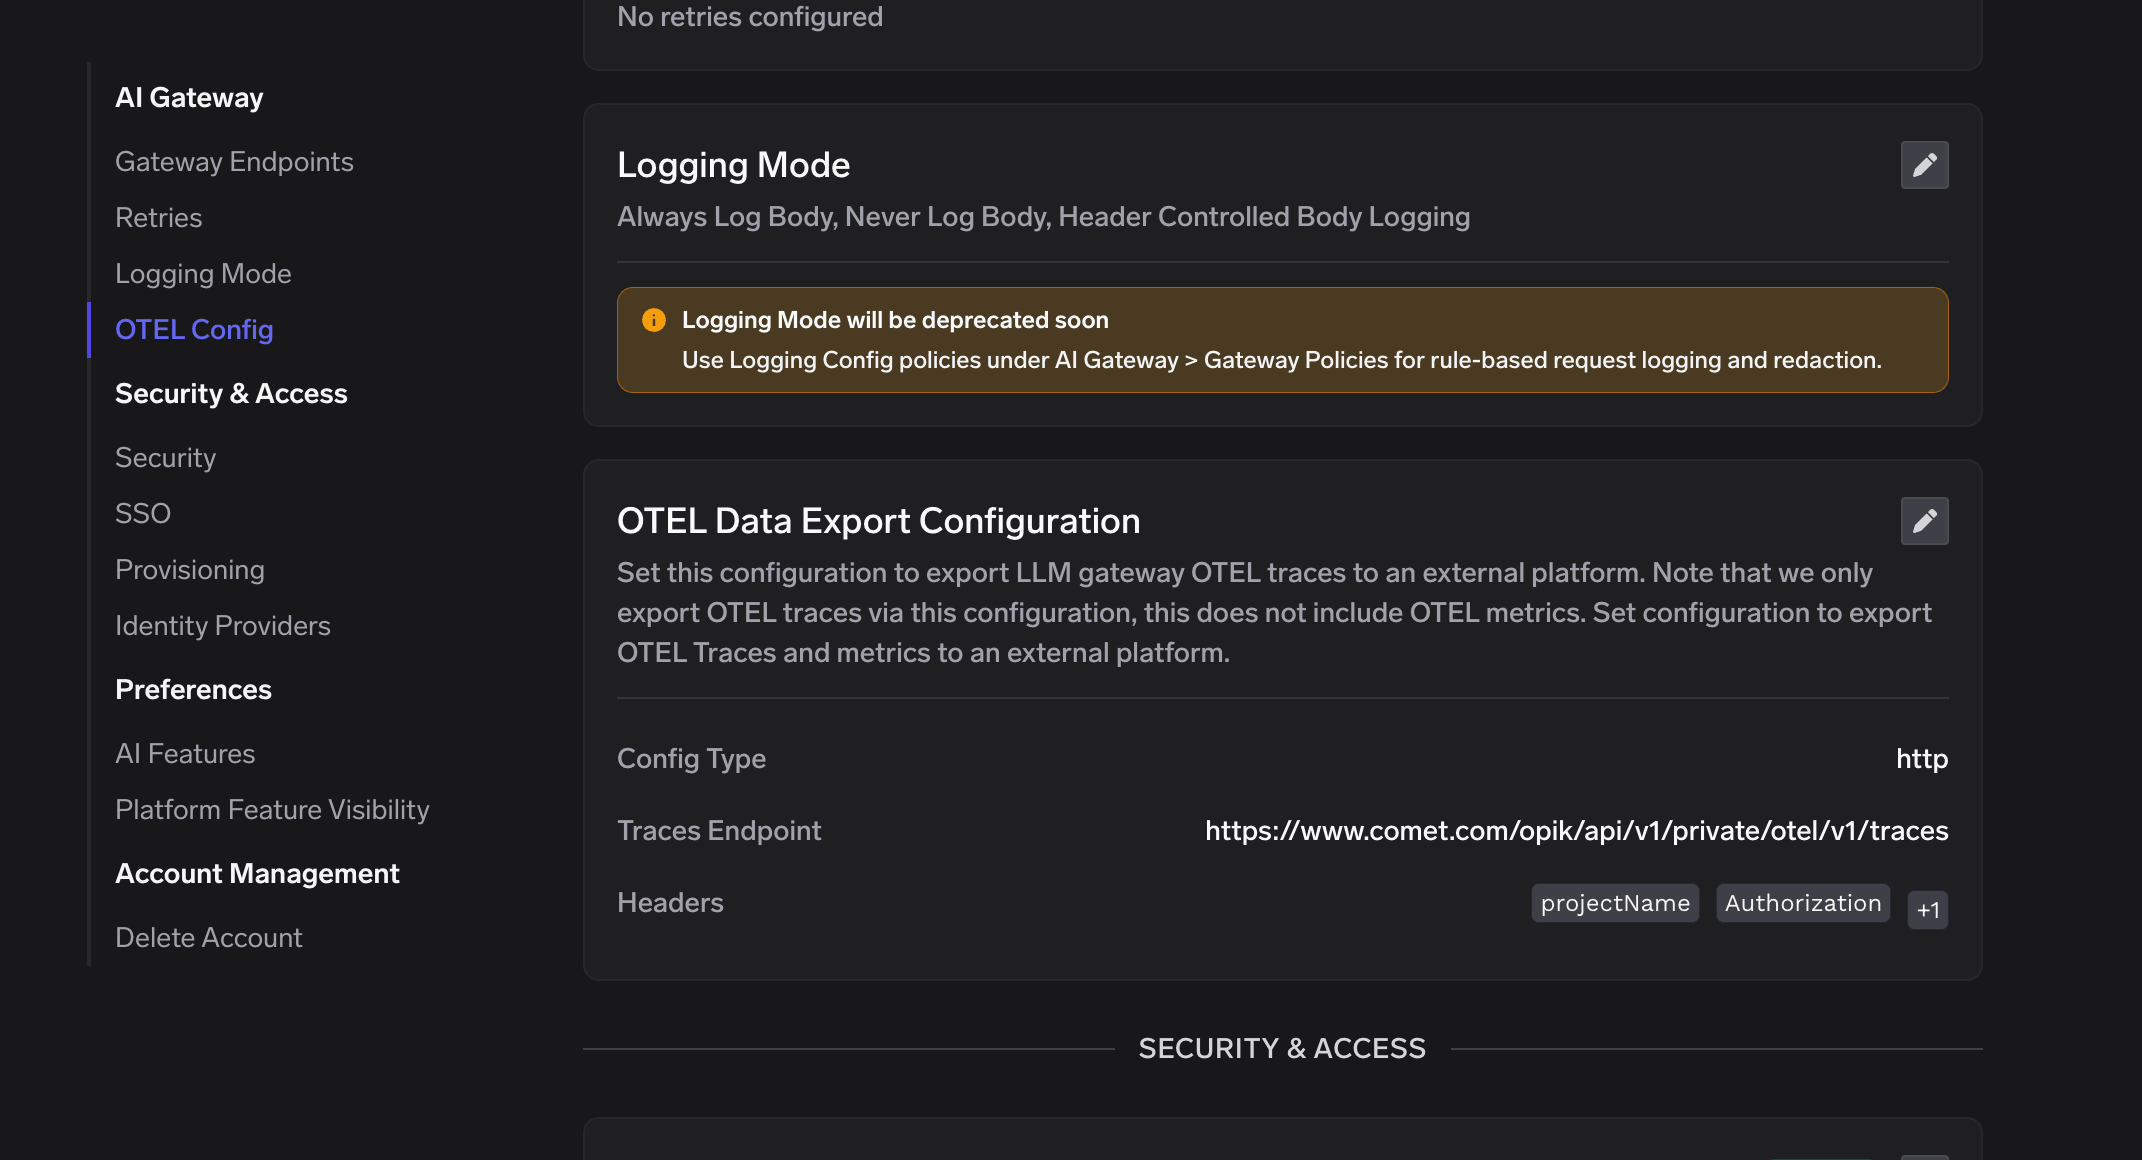
- Go to AI Gateway → Controls → Settings in the TrueFoundry dashboard.
- Scroll down to the OTEL Config section and click the edit (✏️) button.
- Enable the Otel Traces Exporter Configuration toggle and fill in:
| Field | Value |
|---|---|
| Toggle | Enabled |
| Protocol | HTTP Configuration |
| Endpoint | https://www.comet.com/opik/api/v1/private/otel/v1/traces |
| Encoding | Proto |
| Header Key | Authorization |
| Header Value | <your-opik-api-key> |
| Header Key | Comet-Workspace |
| Header Value | <your-workspace-name> |
| Header Key | projectName |
| Header Value | <your-project-name> |
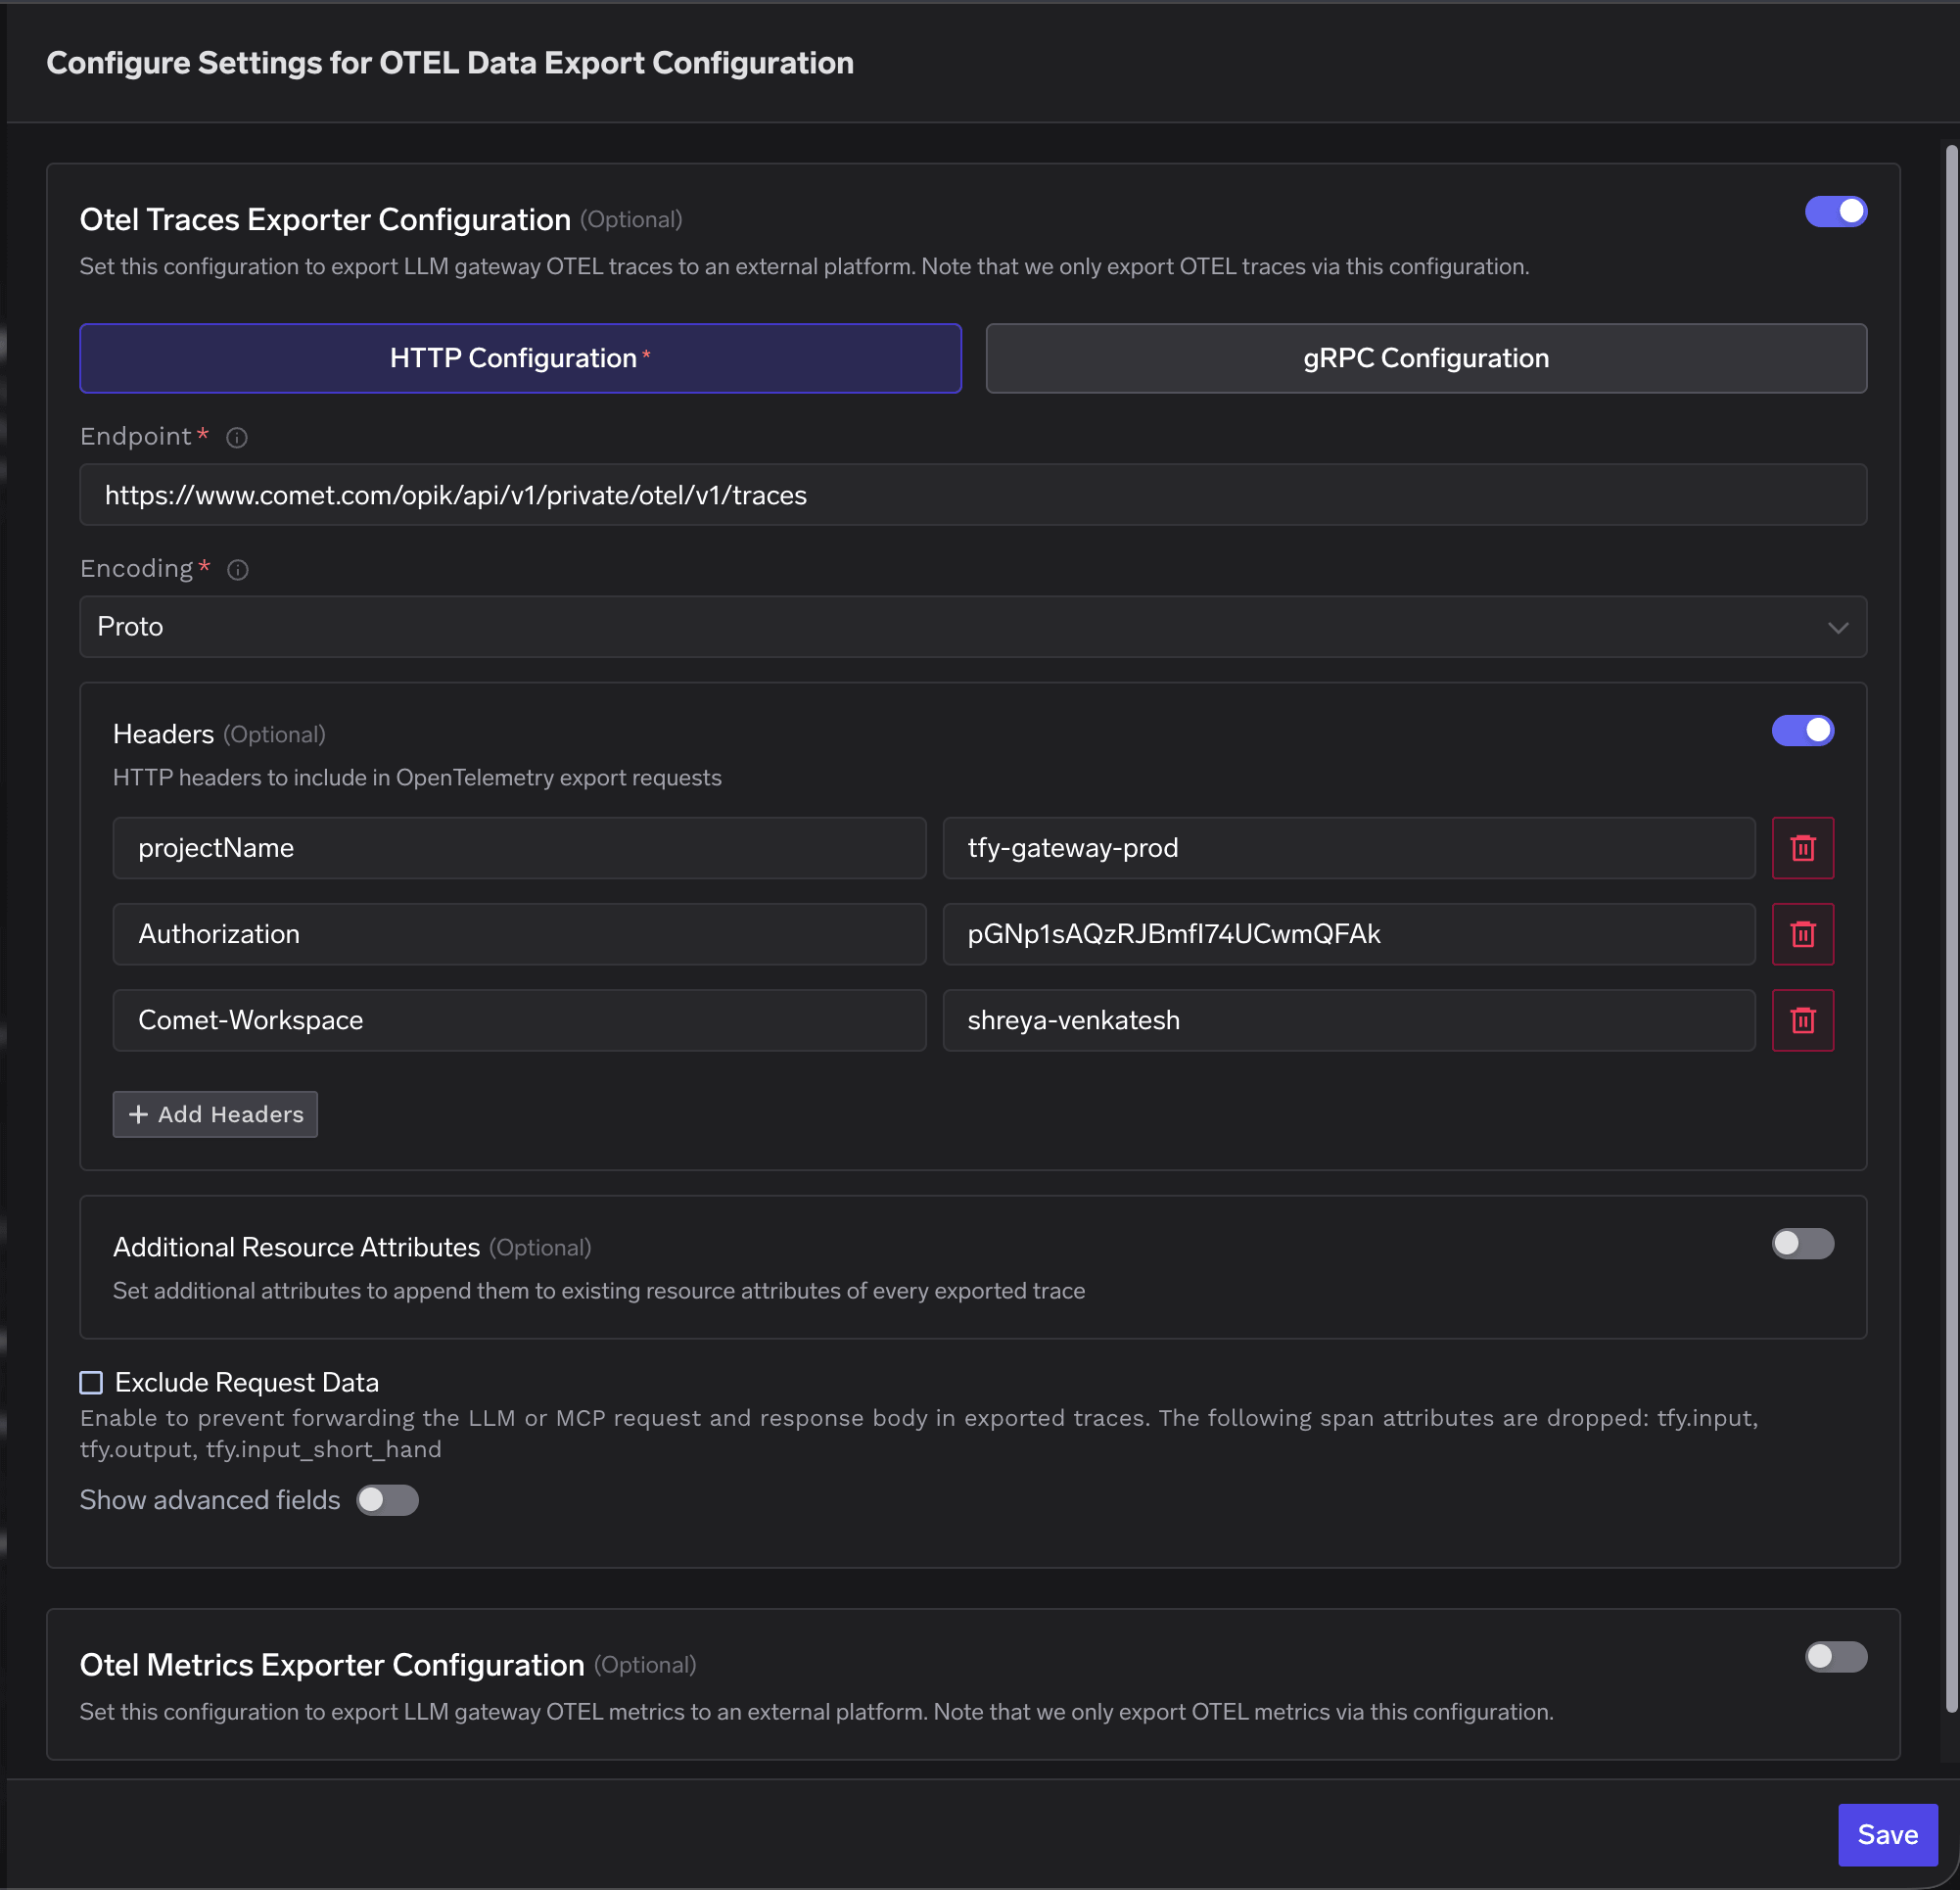
- Leave the Otel Metrics Exporter Configuration toggle disabled — Opik does not accept OTLP metrics.
- Click Save to apply the configuration.
For a self-hosted or enterprise Opik deployment, replace the host in the endpoint with your instance host (for example
http://<YOUR-OPIK-INSTANCE>/api/v1/private/otel/v1/traces) and keep the same three headers.3
Verify the Integration
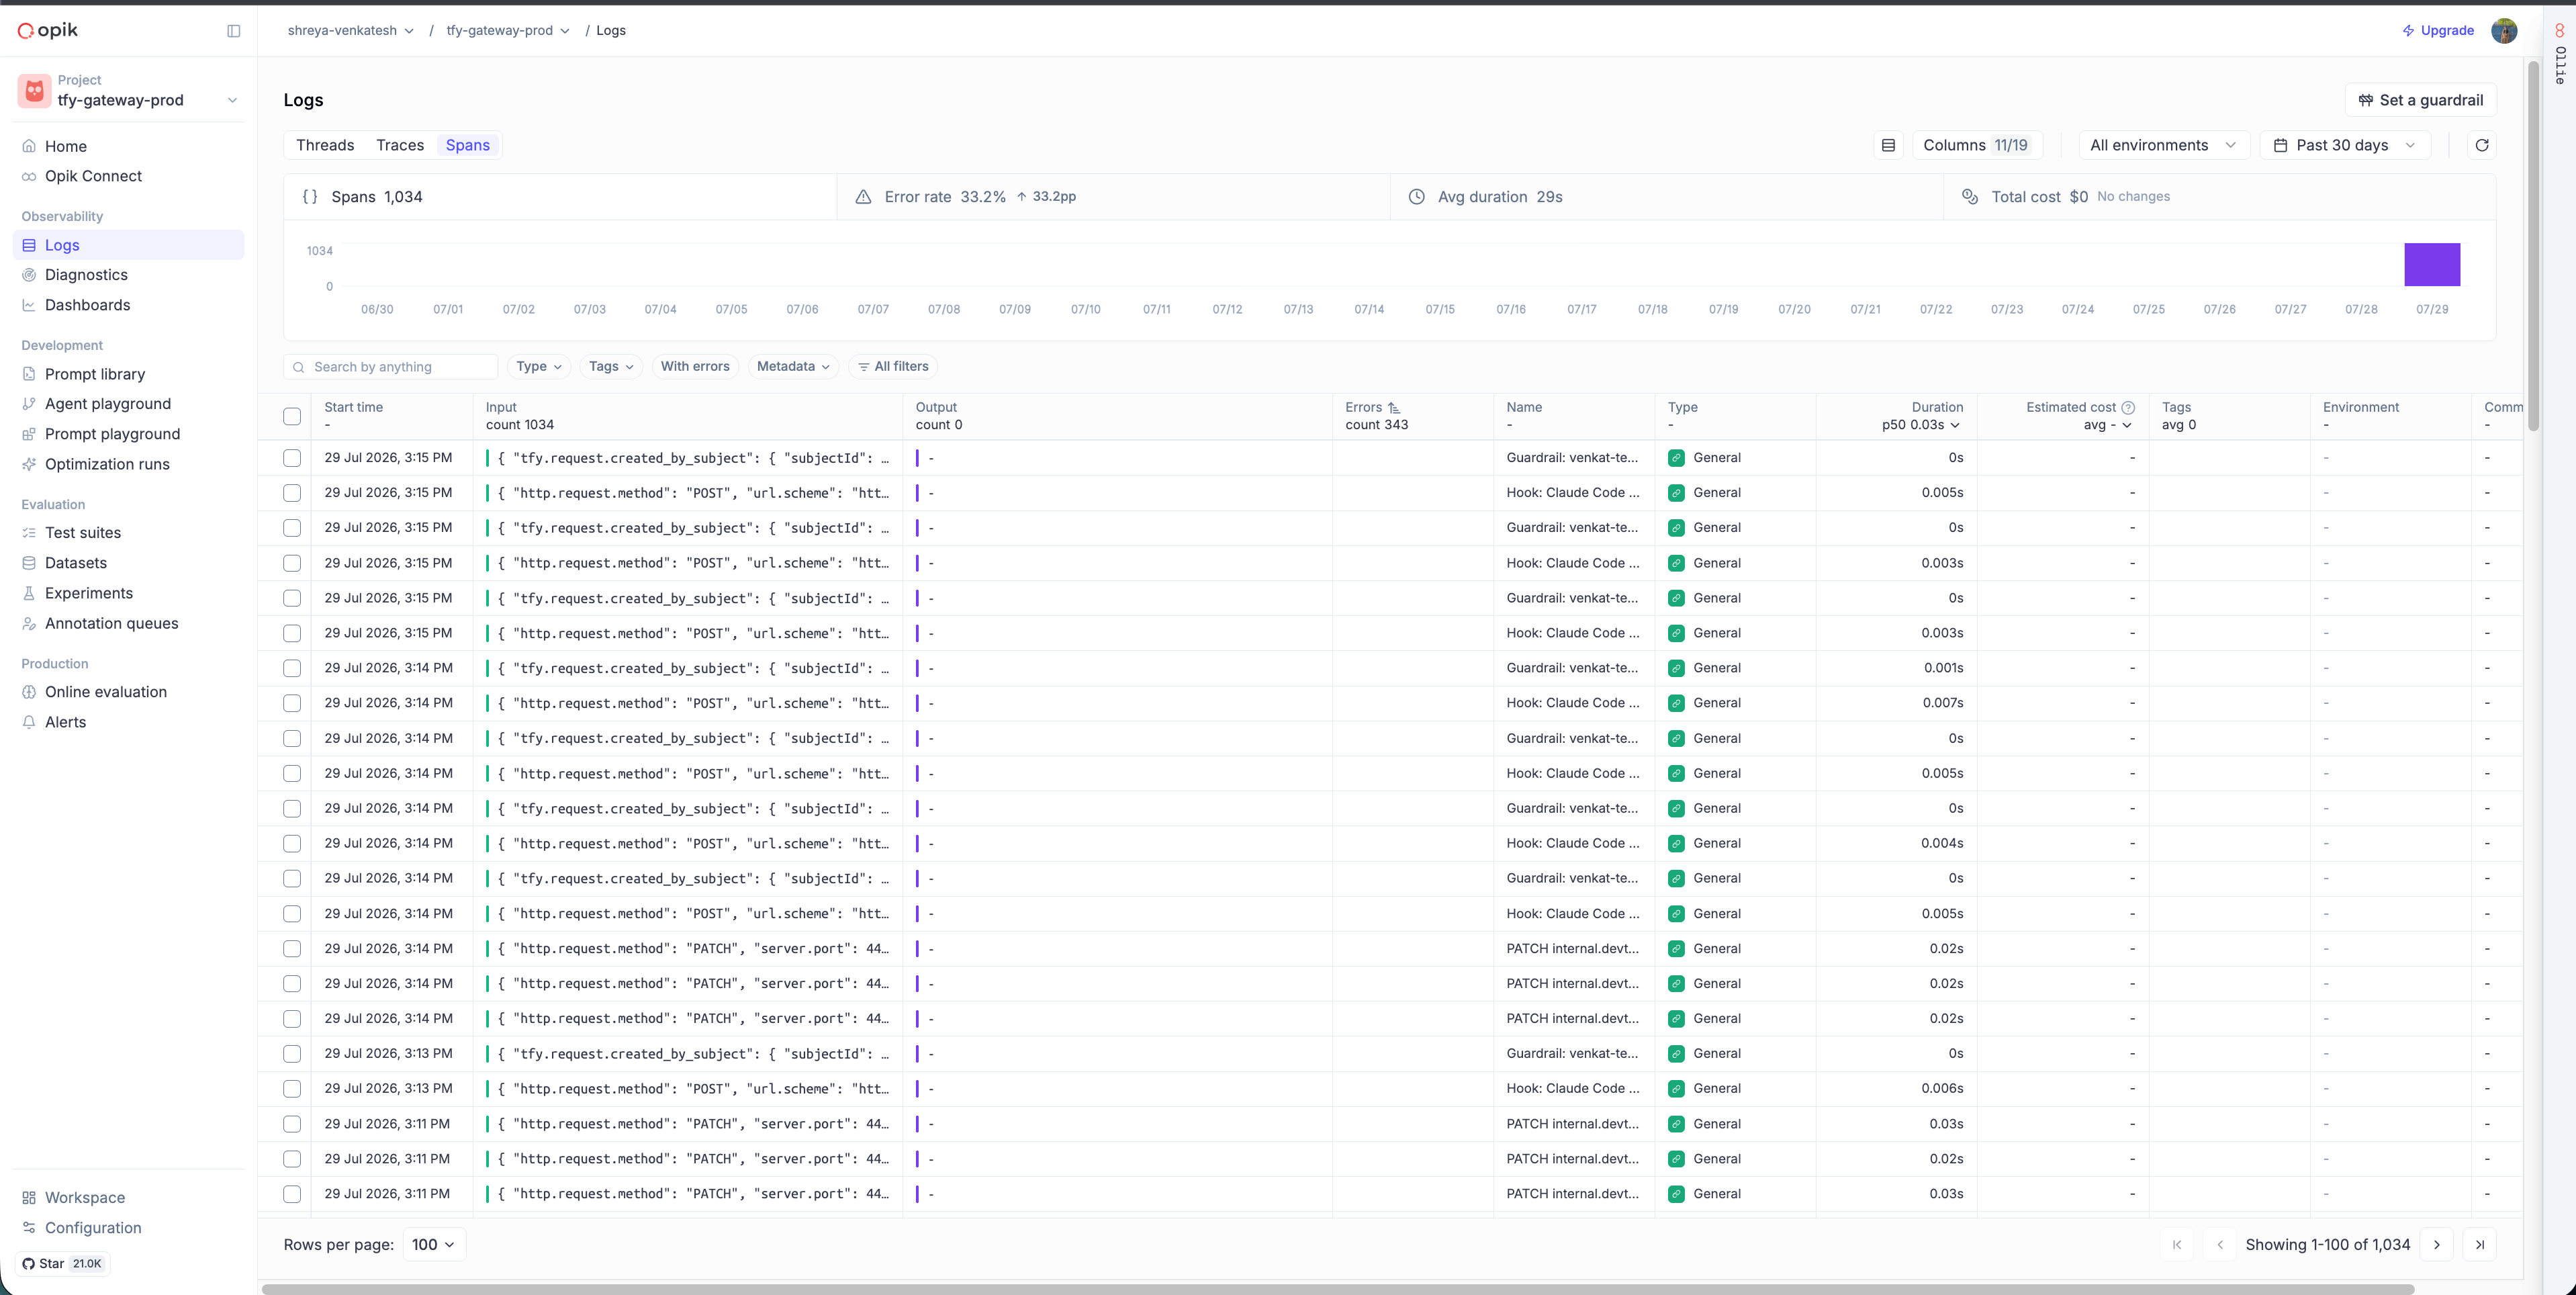
- Make a request through the TrueFoundry AI Gateway.
- Log into your Comet Opik dashboard and open the Traces view for the project named in the
projectNameheader. - Confirm traces from
tfy-llm-gatewayare appearing, with inputs, outputs, token usage, and latency populated.
Configuration Reference
| Configuration | Value |
|---|---|
| Traces Endpoint | https://www.comet.com/opik/api/v1/private/otel/v1/traces |
| Metrics Endpoint | Not supported — Opik ingests traces only |
| Protocol | HTTP |
| Encoding | Proto |
| Auth Header Key | Authorization |
| Auth Header Value | Your Opik API key (raw, no Bearer prefix) |
| Header Key | Comet-Workspace |
| Header Value | Your Opik workspace name |
| Header Key | projectName |
| Header Value | Target Opik project name |