Adding Models
This section explains the steps to add a Wafer provider account, register chat models, and configure access controls.Navigate to Wafer in AI Gateway
From the TrueFoundry dashboard, navigate to 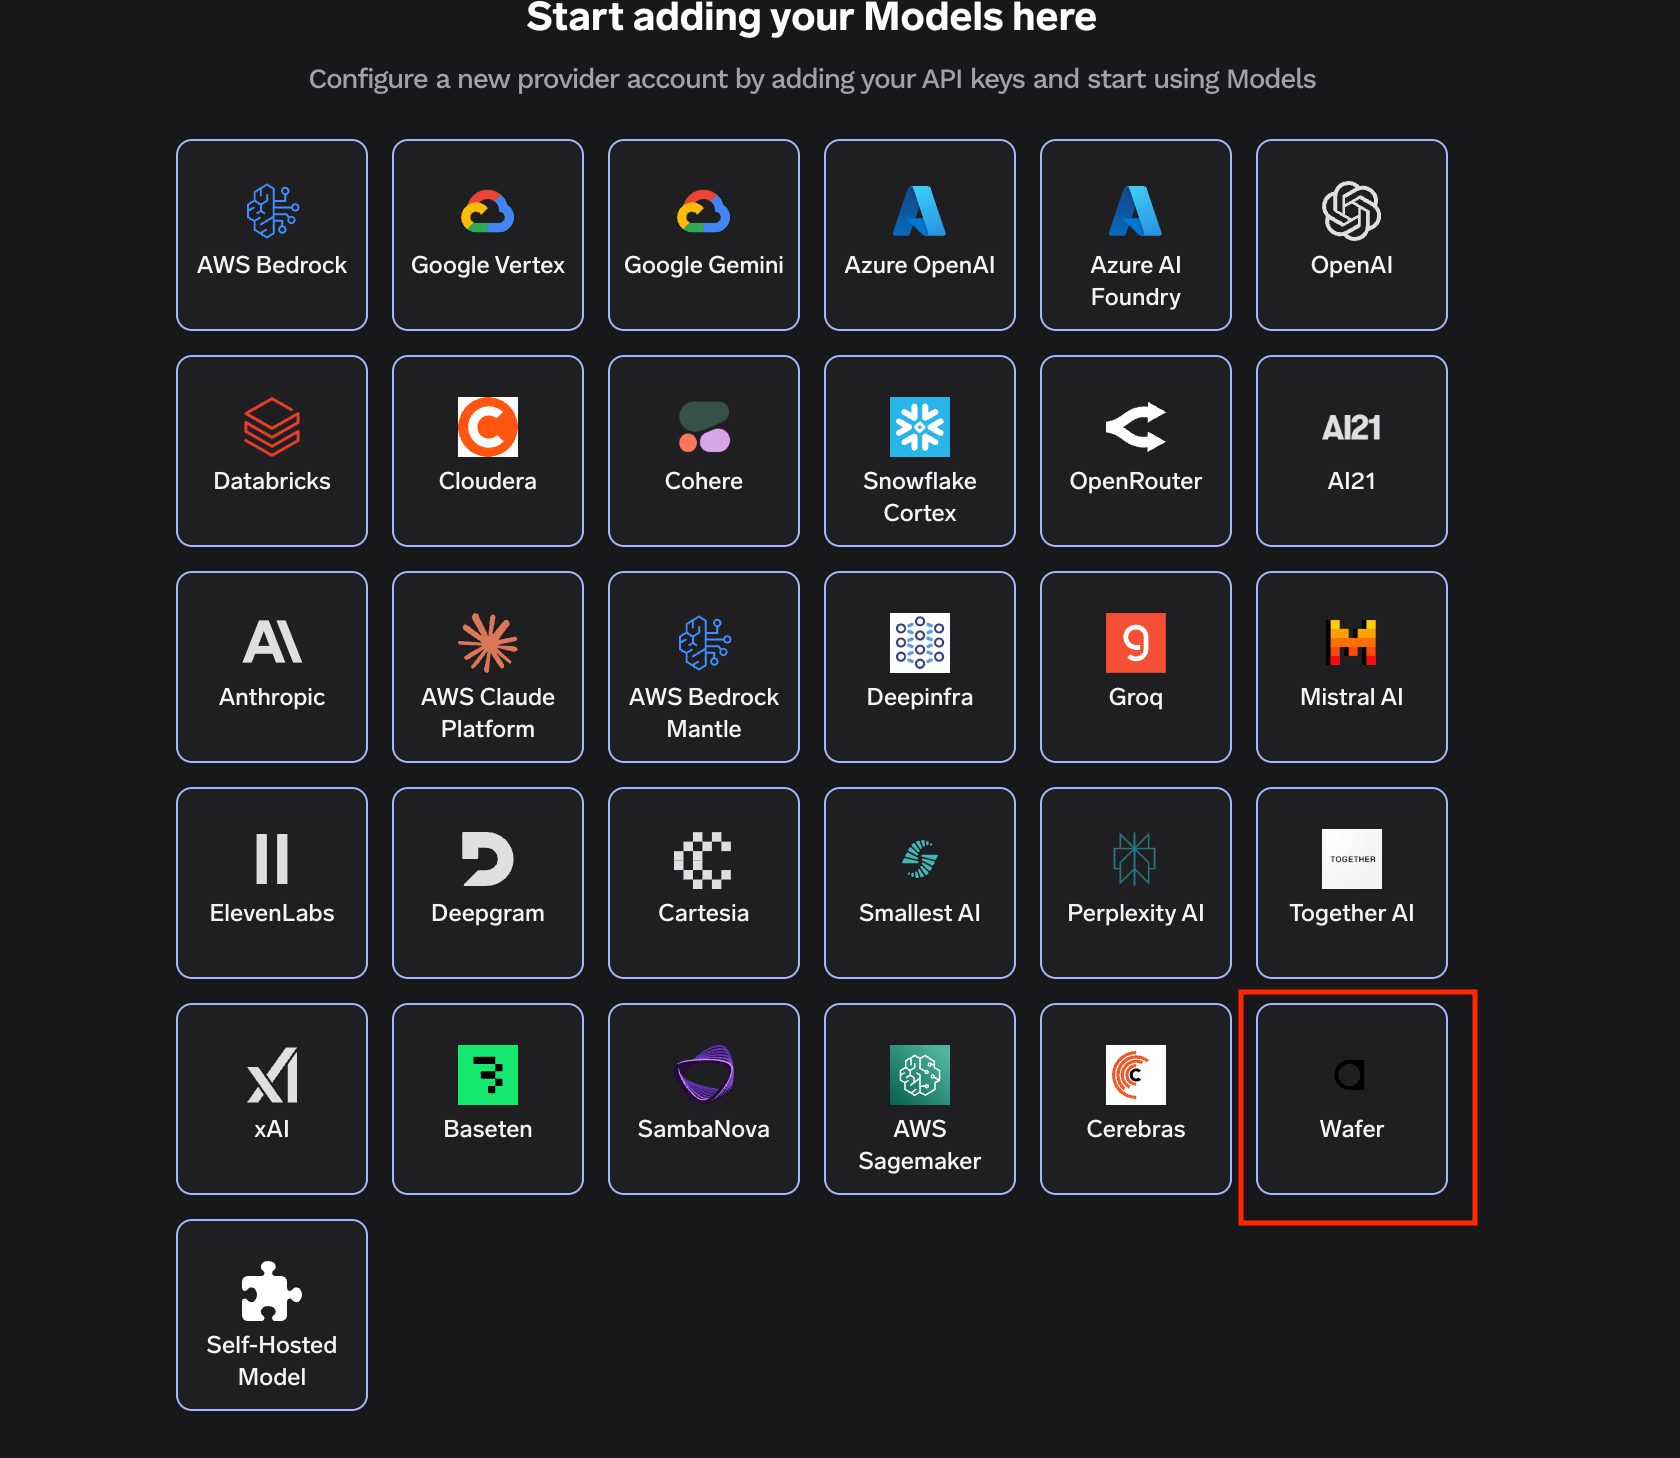
AI Gateway > Models and select Wafer.Add Wafer account details
Click 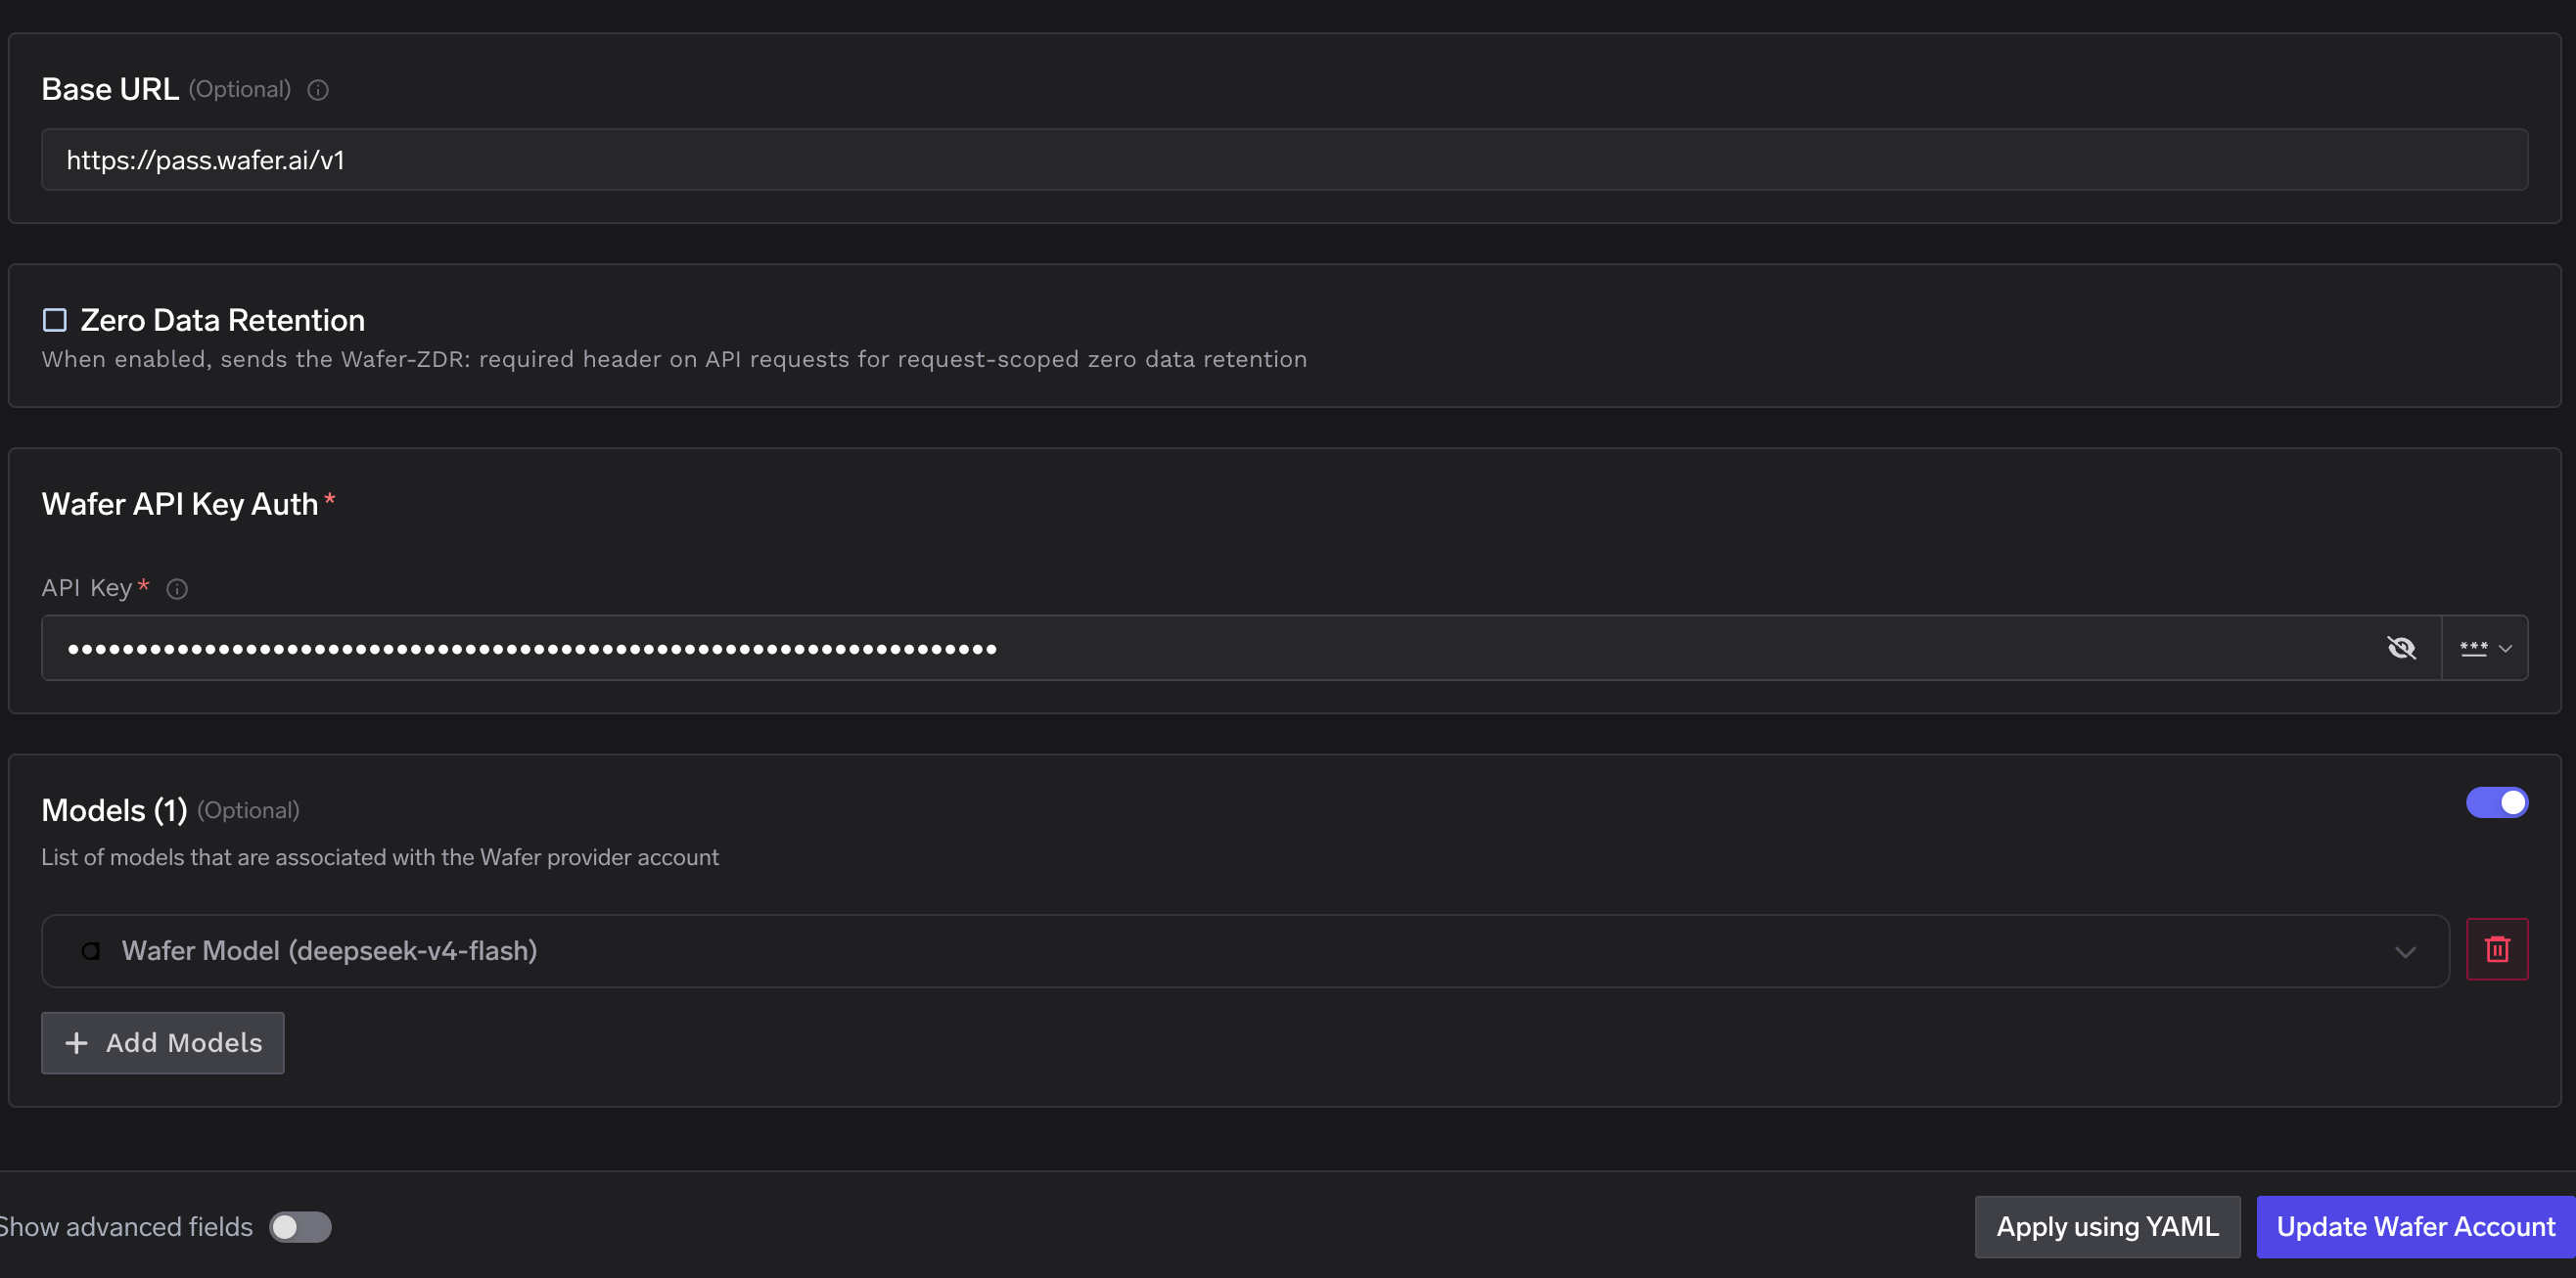
Add Wafer Account. Give a unique name to your Wafer account and complete the form:- Base URL (optional): defaults to
https://pass.wafer.ai/v1. Change this only if Wafer directs you to a different endpoint. - Zero Data Retention: when enabled, the gateway sends the
Wafer-ZDR: requiredheader on API requests for request-scoped zero data retention. This is enabled by default. - API Key: your Wafer API key for authentication.
Register chat models
Click 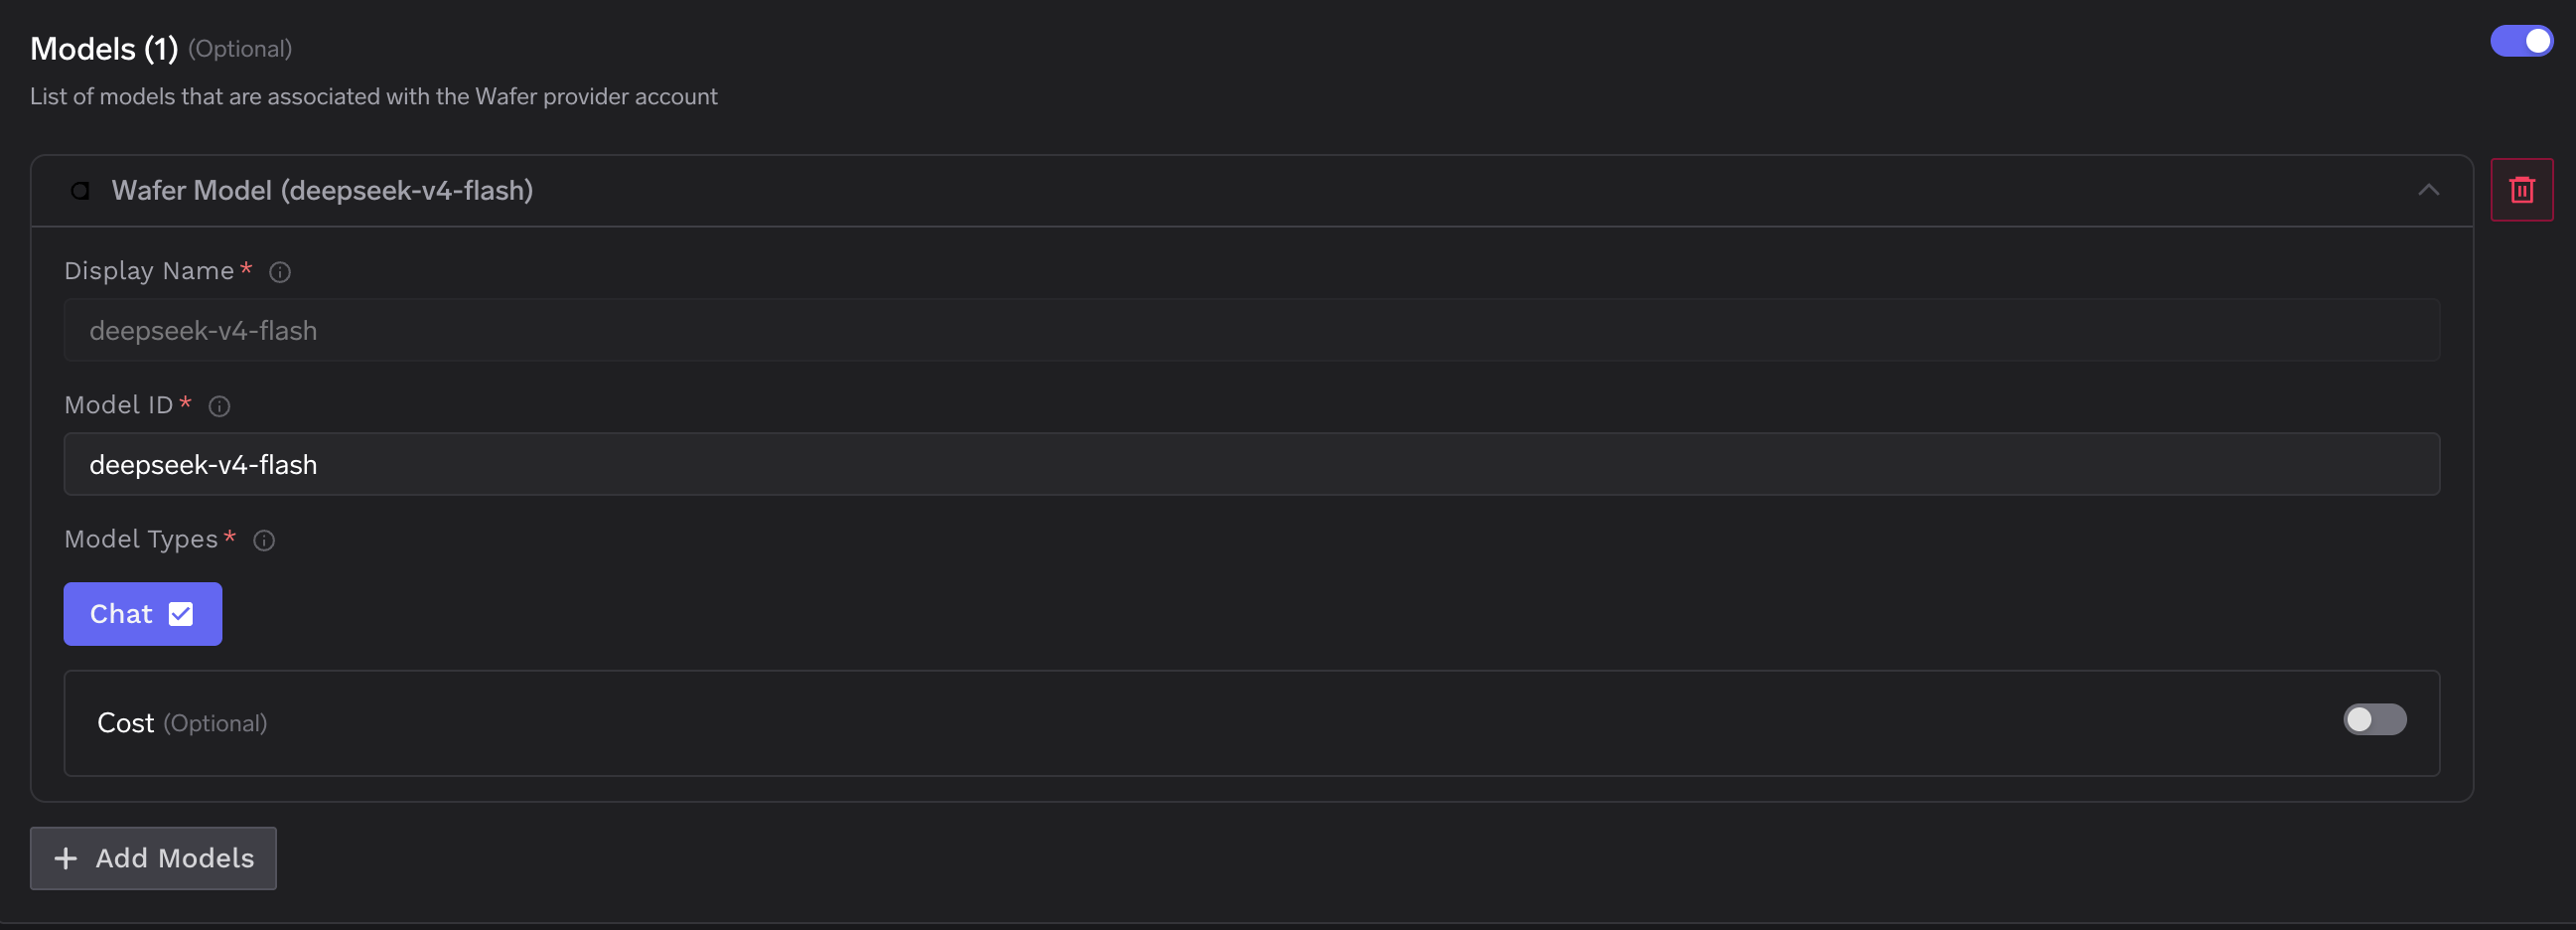
+ Add Models to register one or more chat models under your Wafer account. For each model, set:- Display Name: the name shown in the TrueFoundry UI (for example,
deepseek-v4-flash). - Model ID: the Wafer model identifier used in API calls (for example,
deepseek-v4-flashordeepseek-v4-pro). - Model Types: select Chat.
Use the exact Model ID from Wafer’s documentation or dashboard. Common models include
deepseek-v4-flash and deepseek-v4-pro.Inference
After adding the models, call them through the AI Gateway like any other chat model — via the Playground or by integrating with your application using the OpenAI-compatible/chat/completions API.
Use the TrueFoundry model ID in the format your-wafer-account/deepseek-v4-flash. See Chat Completions - Getting Started for a full code example: