

Run setup
With Cursor installed, install the setup tool, then run: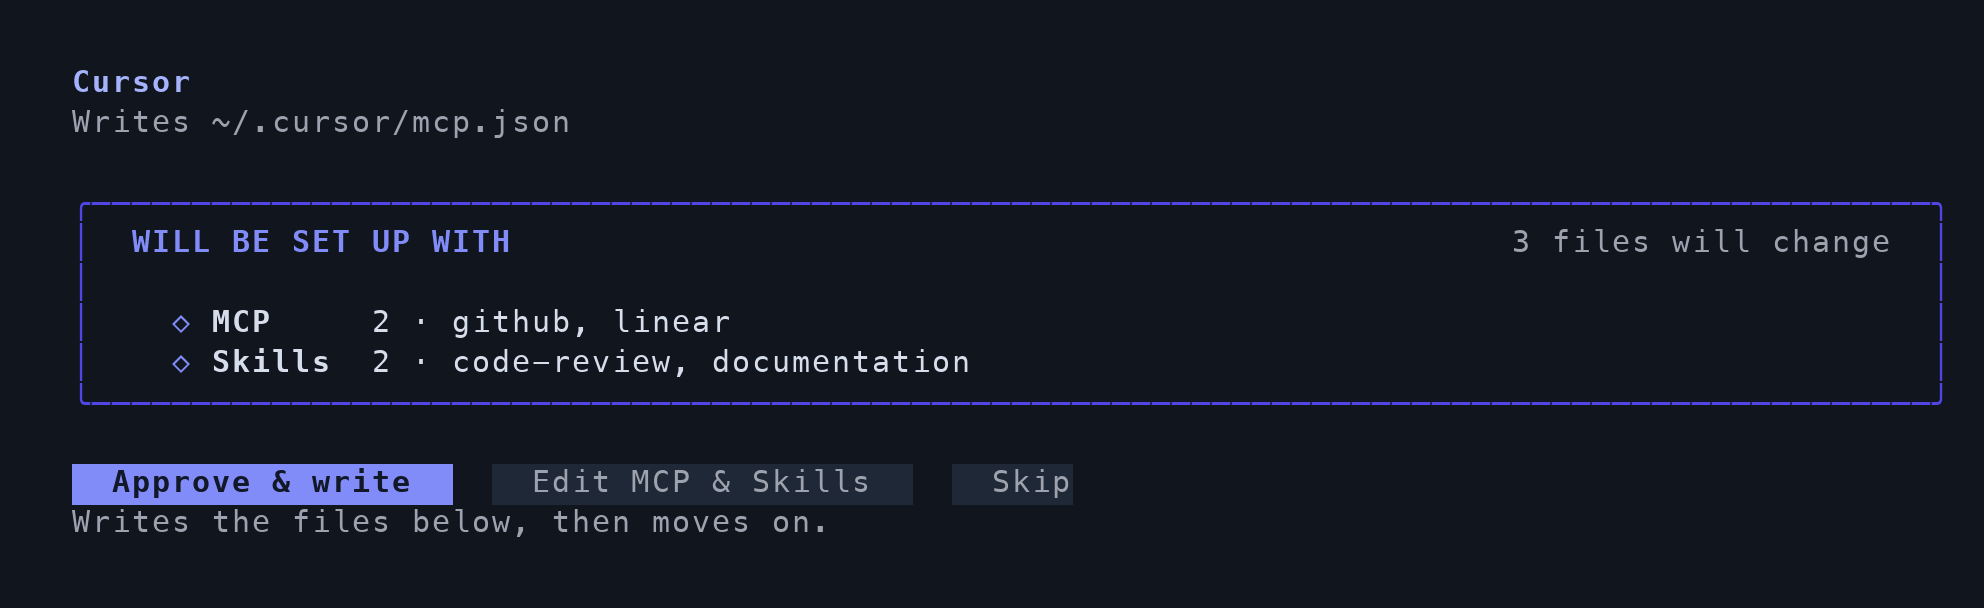
Review the MCP servers and Skills the wizard will configure for Cursor.
Connect models in Cursor
The wizard configures MCP servers and Skills. Complete the model connection inside Cursor:- Ask your administrator for the gateway base URL and a Cursor-compatible Virtual Model slug.
- Run
tfy-local-ai-setup tokenin your terminal to retrieve your TrueFoundry token. - Open Cursor Settings → Models → API Keys. Enter the token as the OpenAI API Key and set OpenAI Base URL to
{GATEWAY_BASE_URL}/cursor/v1. Replace the placeholder with your gateway base URL and turn the API key toggle on. - Add the Virtual Model slug as a custom model, then select it in a new chat.
anthropic, claude, openai, gpt, gemini, or vertex. Ask your administrator for a compatible slug; see Cursor model naming rules.
Optional: authorize MCP servers
Authorize any selected servers that require sign-in inside Cursor. See Connect MCP from your IDE.Verify the connection
Select your configured model in a new conversation and ask:Reply exactly TFY-CHAT-OK. Do not use tools. Confirm that a response arrives without an authentication or model error. Then verify the request in the gateway.
For manual configuration and advanced options, see the Cursor integration guide.