

Run setup
With Codex installed, install the setup tool, then run:Choose a compatible model
Choose a Virtual Model whose slug is an OpenAI model ID, such asgpt-5.4, rather than a provider-prefixed ID. Ask your administrator for a compatible model if none is listed. See why Codex needs a Virtual Model.
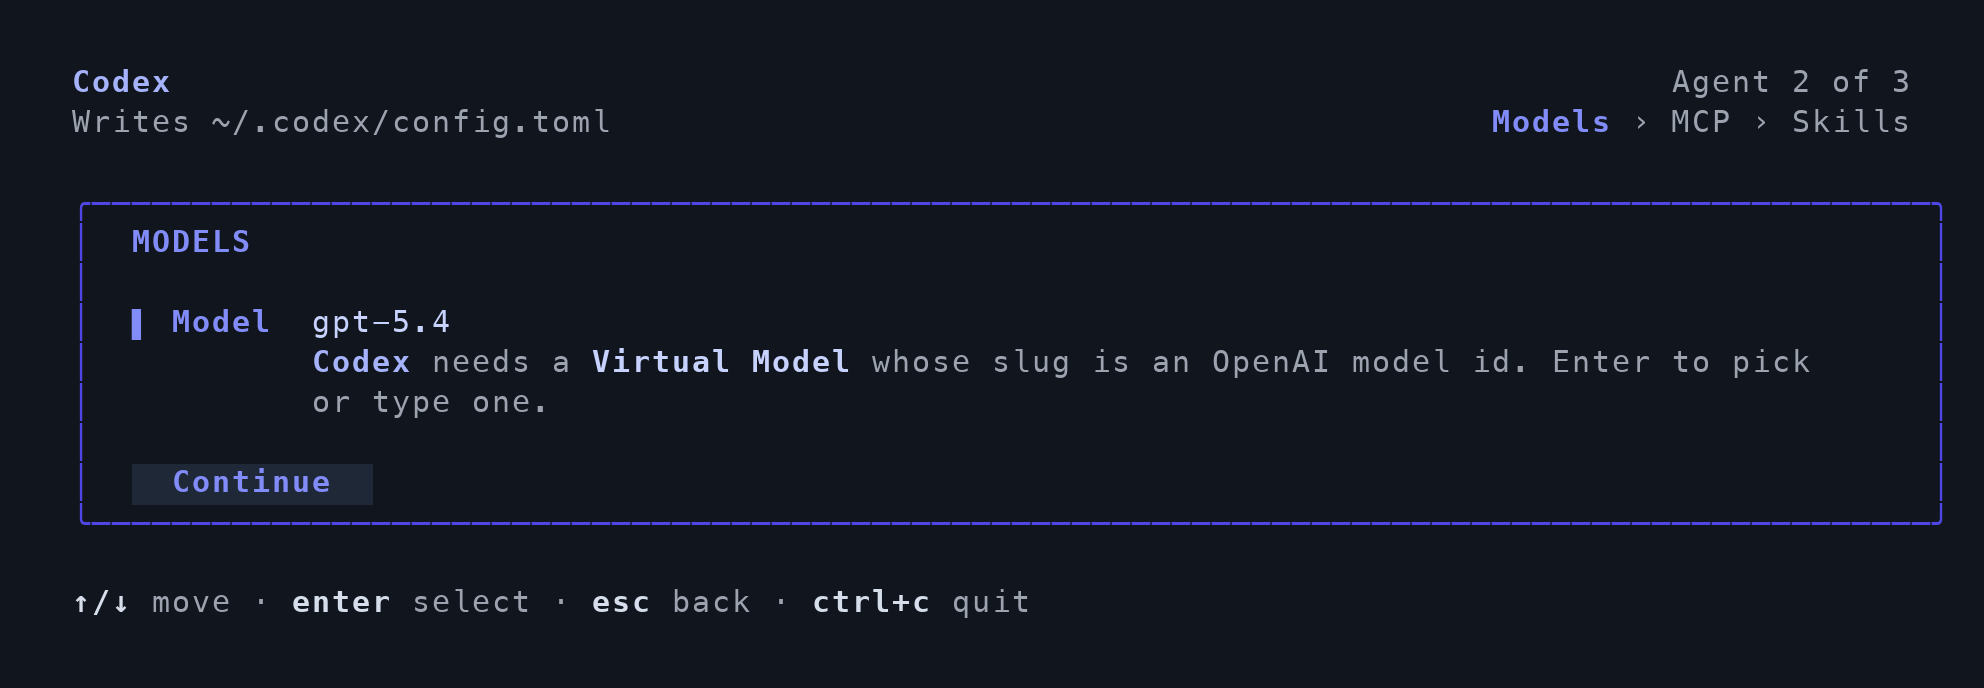
Example default model shared by the CLI and desktop app.
Open Codex
- CLI: open a new terminal and launch
codex. - Desktop: open or restart the Codex app and start a new conversation with the configured model.
Optional: authorize MCP servers
For servers requiring sign-in, run this in a terminal, replacing<server-name> with the configured server’s name:
Verify the connection
Select your configured model in a new conversation and ask:Reply exactly TFY-CHAT-OK. Do not use tools. Confirm that a response arrives without an authentication or model error. Then verify the request in the gateway.
For manual configuration and advanced options, see the Codex (CLI & Desktop) integration guide.