Documentation Index

Fetch the complete documentation index at: https://www.truefoundry.com/llms.txt

Use this file to discover all available pages before exploring further.

This guide walks you through setting up SAML 2.0 single sign-on between TrueFoundry and Google Workspace. Once finished, members of your Workspace can sign in to TrueFoundry through a Login with Google button.
This guide configures SAML SSO via Google Workspace for an entire organisation. It is not the same as “Sign in with Google”, which uses OAuth 2.0 / OIDC and authenticates individual Google consumer accounts. Confirm with your security team that you actually want SAML before continuing.

Prerequisites

  • A TrueFoundry tenant with Admin access to Platform → Settings → SSO.
  • A Google Workspace account with Super Admin privileges on admin.google.com so you can create custom SAML apps.
You’ll bounce between the Google Admin Console and the TrueFoundry SSO settings. Keep both open in adjacent tabs to copy-paste values quickly.

Configuration overview

1

Create a custom SAML app in Google

Add a new custom SAML app under Apps → Web and mobile apps in the Google Admin Console.
2

Capture Google's IdP metadata

Copy the SSO URL, Entity ID, and download the signing certificate.
3

Create the TrueFoundry SSO record

Save a placeholder SAML SSO configuration in TrueFoundry to surface its Callback URL and Issuer.
4

Wire both sides together

Paste TrueFoundry’s values into Google’s Service Provider Details, then paste Google’s IdP values back into TrueFoundry.
5

Roll out and test

Turn the app ON for the right org units and verify sign-in.

Step 1 — Create a custom SAML app in Google

1

Open the Google Admin Console

Sign in to admin.google.com as a Super Admin.In the left sidebar, expand Apps and click Web and mobile apps.
2

Add a custom SAML app

Click Add app → Add custom SAML app.On the App details screen, enter an App name (for example TrueFoundry). Optionally upload an app icon, then click Continue.

Step 2 — Capture Google’s Identity Provider details

The wizard advances to Google Identity Provider details. You’ll grab three values from this screen.
1

Copy the SSO URL

Copy the value labelled SSO URL — you’ll paste it into TrueFoundry’s Identity Provider Endpoint later.
2

Copy the Entity ID

Copy the value labelled Entity ID. TrueFoundry doesn’t require this directly today, but keep it handy in case Google asks for it during troubleshooting.
3

Download the certificate

Click Download under Certificate to save the .pem file. Its filename starts with Google_ and ends with _SAML2.0. Keep it somewhere you can open in a plain-text editor.
4

Continue

Click Continue to move to the Service Provider Details screen. Leave this Google tab open — you’ll come back in Step 4.

Step 3 — Create the SSO configuration in TrueFoundry

In a second browser tab, open TrueFoundry to generate the values Google needs.
1

Open SSO settings

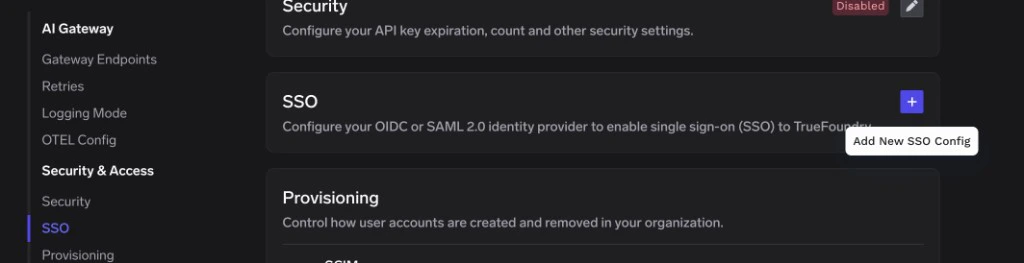
Go to Platform → Settings → SSO and click Configure.
2

Fill in the basic fields

  • Enabled: turn this on.
  • Name: a label such as Google Workspace SAML.
  • SSO Provider: select Google.
  • Authentication Configuration: choose SAML v2.
For now, paste the Google SSO URL you copied in Step 2 into Identity Provider Endpoint and any temporary text into X.509 Certificate so the form passes validation. You’ll replace the certificate with the real PEM in Step 6.
3

Save to reveal the Callback URL and Issuer

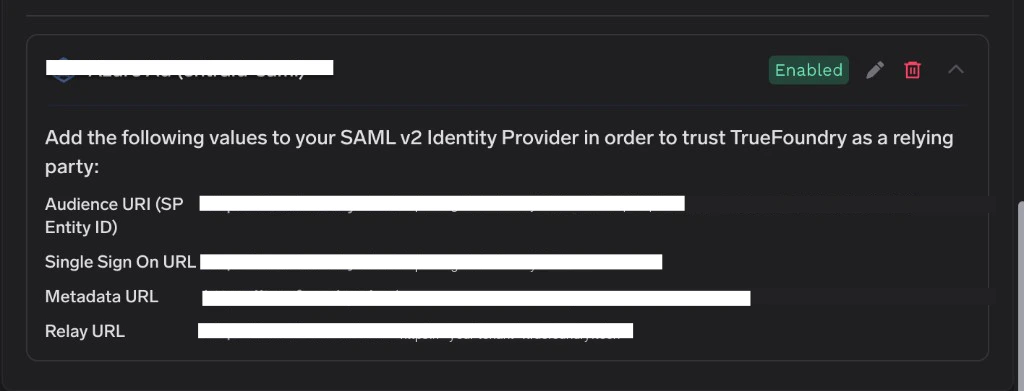
Click Save. TrueFoundry will display two values on the SSO row that Google needs:
  • Callback URL — paste this into Google as the ACS URL.
  • Issuer — paste this into Google as the Entity ID.

Step 4 — Enter TrueFoundry’s details into Google

Switch back to the Google Admin Console tab — you should still be on the Service Provider Details step of the wizard.
1

Paste the Service Provider URLs

Google fieldPaste this value from TrueFoundry
ACS URLTrueFoundry Callback URL
Entity IDTrueFoundry Issuer
Leave Start URL blank and leave Signed response unchecked unless your security policy requires it.
2

Set the Name ID

Configure the Name ID block:
  • Name ID formatEMAIL.
  • Name IDBasic Information > Primary email.
Click Continue.

Step 5 — Map Google directory attributes

You’ll now arrive at the Attributes step. TrueFoundry expects the user’s email and (optionally) their name and group memberships in the SAML assertion.
1

Add the core attribute mappings

Under Attributes, click Add mapping for each row and configure:
Google directory attributeApp attribute
Primary emailemail
First namefirstName
Last namelastName
2

(Optional) Send group memberships

Scroll down to the Group membership section and add the Google groups whose membership should flow to TrueFoundry. Set the App attribute to groups.
Sending the groups attribute lets TrueFoundry use Google group memberships for role assignment and team mapping later on.
3

Finish the wizard

Click Finish. Google now lands you on the new app’s overview page — the SAML app exists but is OFF for everyone by default.

Step 6 — Paste Google’s IdP details into TrueFoundry

Return to Platform → Settings → SSO in TrueFoundry and edit the SSO record you saved in Step 3.
1

Set the Identity Provider Endpoint

Paste Google’s SSO URL (captured in Step 2) into Identity Provider Endpoint. If you already pasted it in Step 3 you can leave it as-is.
2

Set the X.509 Certificate

Open the .pem file you downloaded from Google in any text editor. Copy the entire contents — including the -----BEGIN CERTIFICATE----- and -----END CERTIFICATE----- lines — and paste them into the X.509 Certificate field.
3

(Optional) Tune the advanced fields

Expand Show advanced fields if you want to customise:
  • Button Text — for example Login with Google.
  • Button Image URL — a Google “G” mark hosted on your CDN.
  • Email Claim — leave as email to match the mapping from Step 5.
  • Unique ID Claim — leave as sub. Google’s SAML responses set the Name ID to the user’s primary email, which TrueFoundry uses by default.
4

Save

Click Save. TrueFoundry validates that the certificate is well-formed PEM and stores the configuration.

Step 7 — Enable user access in Google

Newly-created custom SAML apps are turned OFF for the entire Workspace. You must explicitly enable the app for the users who should be able to sign in.
1

Open User access

From the new app’s overview page, click the User access card on the right (it shows as OFF for everyone).
2

Turn the service ON

Either:
  • Choose ON for everyone and click Save, or
  • Select an organisational unit or group on the left and toggle Service status to ON for just that subset.
Google can take up to 24 hours to propagate the ON / OFF change. Until propagation finishes, affected users will see app_not_configured_for_user when they try to sign in. This is a Google-side delay — there is nothing to fix in TrueFoundry.

Step 8 — Test single sign-on

  1. Open a private/incognito window and visit your TrueFoundry login page.
  2. Click Login with Google (or whichever Button Text you chose).
  3. Authenticate with a Google Workspace user that the app is enabled for.
If the sign-in succeeds you’ll land in the TrueFoundry dashboard. New users are created automatically if JIT provisioning is enabled; otherwise the user must already exist in TrueFoundry or be invited.

Optional next steps

  • Use OIDC instead — if you don’t need SAML’s group-claim semantics, the OIDC flow against Google is simpler. Configure a Google Cloud OAuth client and switch Authentication Configuration to OIDC in TrueFoundry.
  • Switch to a different IdP — see SAML with Microsoft Entra ID for the equivalent flow against Entra.

Troubleshooting

The certificate pasted into TrueFoundry doesn’t match the active signing certificate on Google’s app. Re-download the .pem from the Google Identity Provider details screen of your custom SAML app and paste the entire contents — including the -----BEGIN CERTIFICATE----- and -----END CERTIFICATE----- lines — into TrueFoundry’s X.509 Certificate field.
The Google org unit they belong to isn’t enabled for the SAML app yet, or Google hasn’t finished propagating the change. Confirm under Apps → Web and mobile apps → <your app> → User access that the OU is ON, then wait up to 24 hours for propagation.
The email attribute mapping wasn’t saved. Edit the SAML app in Google, open Attribute mapping, and confirm Primary email → email is present. As a fallback, expand Show advanced fields in TrueFoundry and set Email Claim to the literal Name ID by leaving it as email — Google’s Name ID is already the user’s primary email when Name ID is set to Basic Information > Primary email.
Google signs SAML assertions by default but does not sign the SAML response envelope unless asked to. If your security policy requires a signed response, edit the SAML app in Google, return to Service Provider Details, and check Signed response. Then re-test.
Group memberships are only sent if you scrolled to the Group membership section of Attribute mapping and explicitly added the relevant Google groups under the groups app attribute. Edit the app, add the groups, click Save, and re-test sign-in.