

We recommend setting up SSO since its more secure and also makes it easier to
manage users. You can setup SSO with your Identity Provider (IdP) by reading
SSO Overview.
User provisioning
The dedicated Provisioning settings and the SCIM, JIT, and manual invite
provisioning modes described below are available starting from v0.143. On
earlier versions, SCIM is configured inline in the SSO form. See the Identity
and Access Revamp
announcement
for migration details.
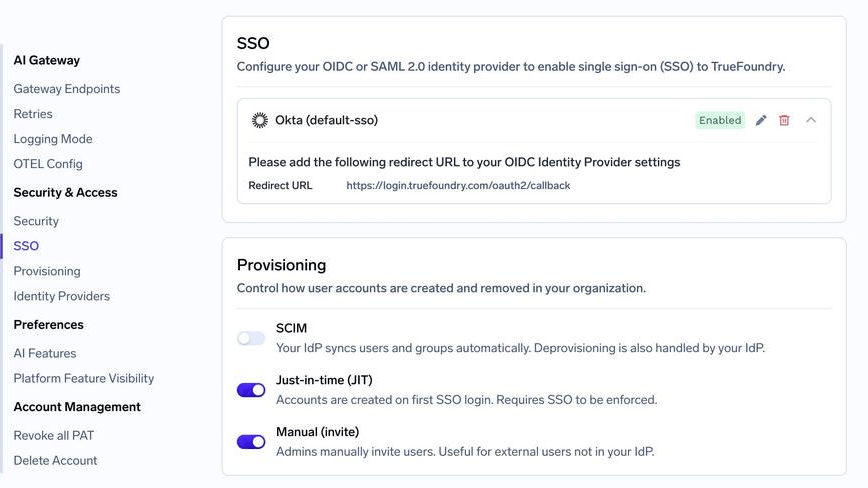
Provisioning modes below SSO settings
Each mode is an independent toggle, not a mutually exclusive choice. You
can enable more than one at the same time — a common setup is JIT for
employees who sign in through your IdP plus Manual (invite) for external
collaborators who are not in it. Turning a mode off only stops that path from
creating new accounts; it does not remove users who already exist.
Provisioning creates or controls TrueFoundry user accounts. It is separate
from Identity Providers, which validate
externally issued JWTs for API and gateway access. The Identity Providers
card sits directly below Provisioning in the same settings section.
Capability matrix
SCIM
TrueFoundry supports SCIM (System for Cross-domain Identity Management) to automatically create, update, and deactivate users and groups from your identity provider. SCIM is available for both OIDC and SAML v2 SSO configurations.SCIM enables automatic lifecycle management for both users and teams.
Adding or removing a user in your IdP adds or removes the corresponding user
in TrueFoundry, and IdP groups are synced as TrueFoundry teams. For
team-specific behavior and the group name convention, see Provision teams via
SCIM.
1
Enable SCIM provisioning
Turn on the SCIM toggle under Settings > Security & Access > Provisioning.This step is a prerequisite for the rest: while SCIM is off, the expanded SSO configuration shows only the redirect URL, and neither the SCIM URL nor the key icon used to mint a SCIM token is displayed.
2
Get the SCIM URL
Go to Settings > Security & Access > SSO and expand your saved SSO configuration to view the SCIM URL along with other metadata. Copy this URL for your identity provider’s SCIM settings.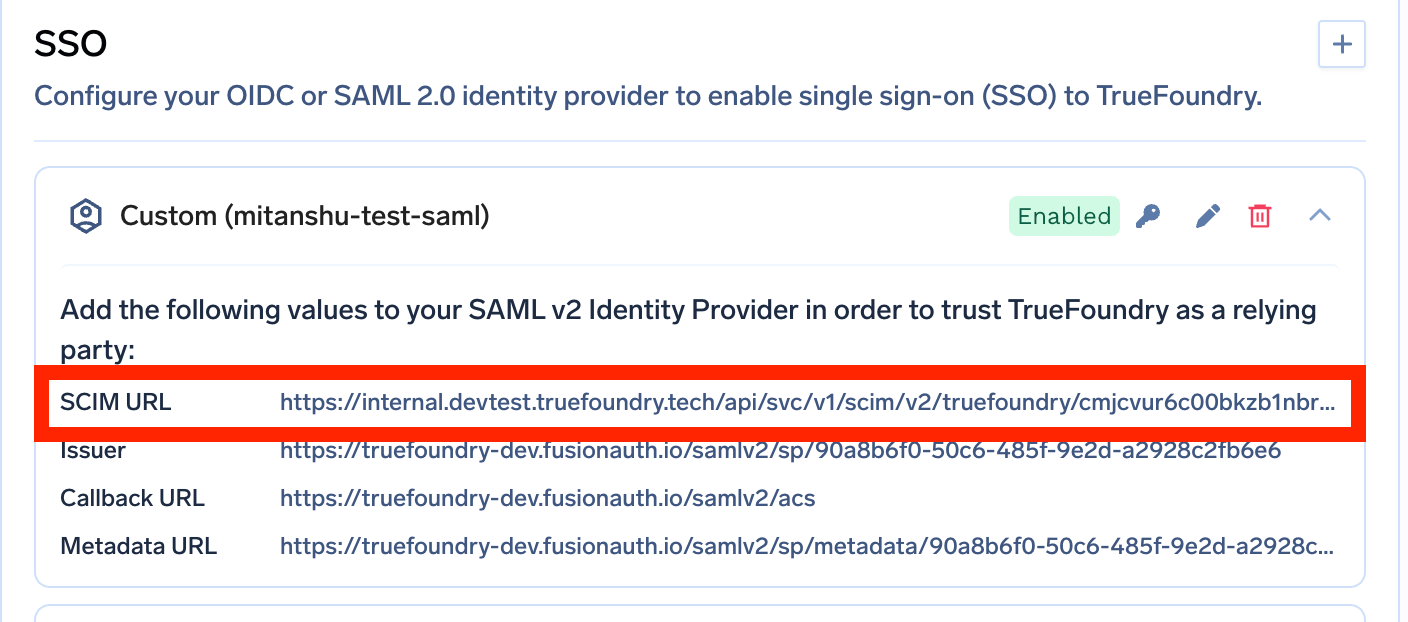
3
Get the SCIM token
Click the key icon next to your SSO configuration to generate and copy the SCIM authentication token.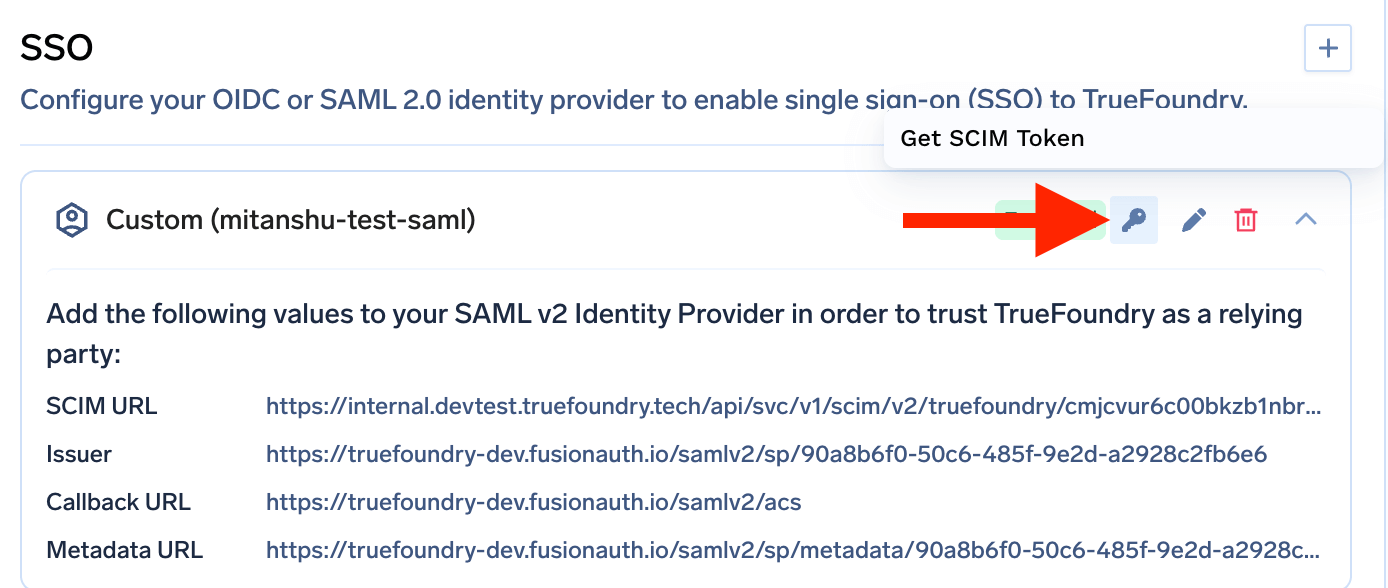
4
Configure your identity provider
In your identity provider’s SCIM provisioning settings:
- Set the SCIM Base URL to the SCIM URL from TrueFoundry.
- Set the Authentication method to Bearer Token.
- Use the SCIM token as the Bearer token value.
Just-in-time (JIT)
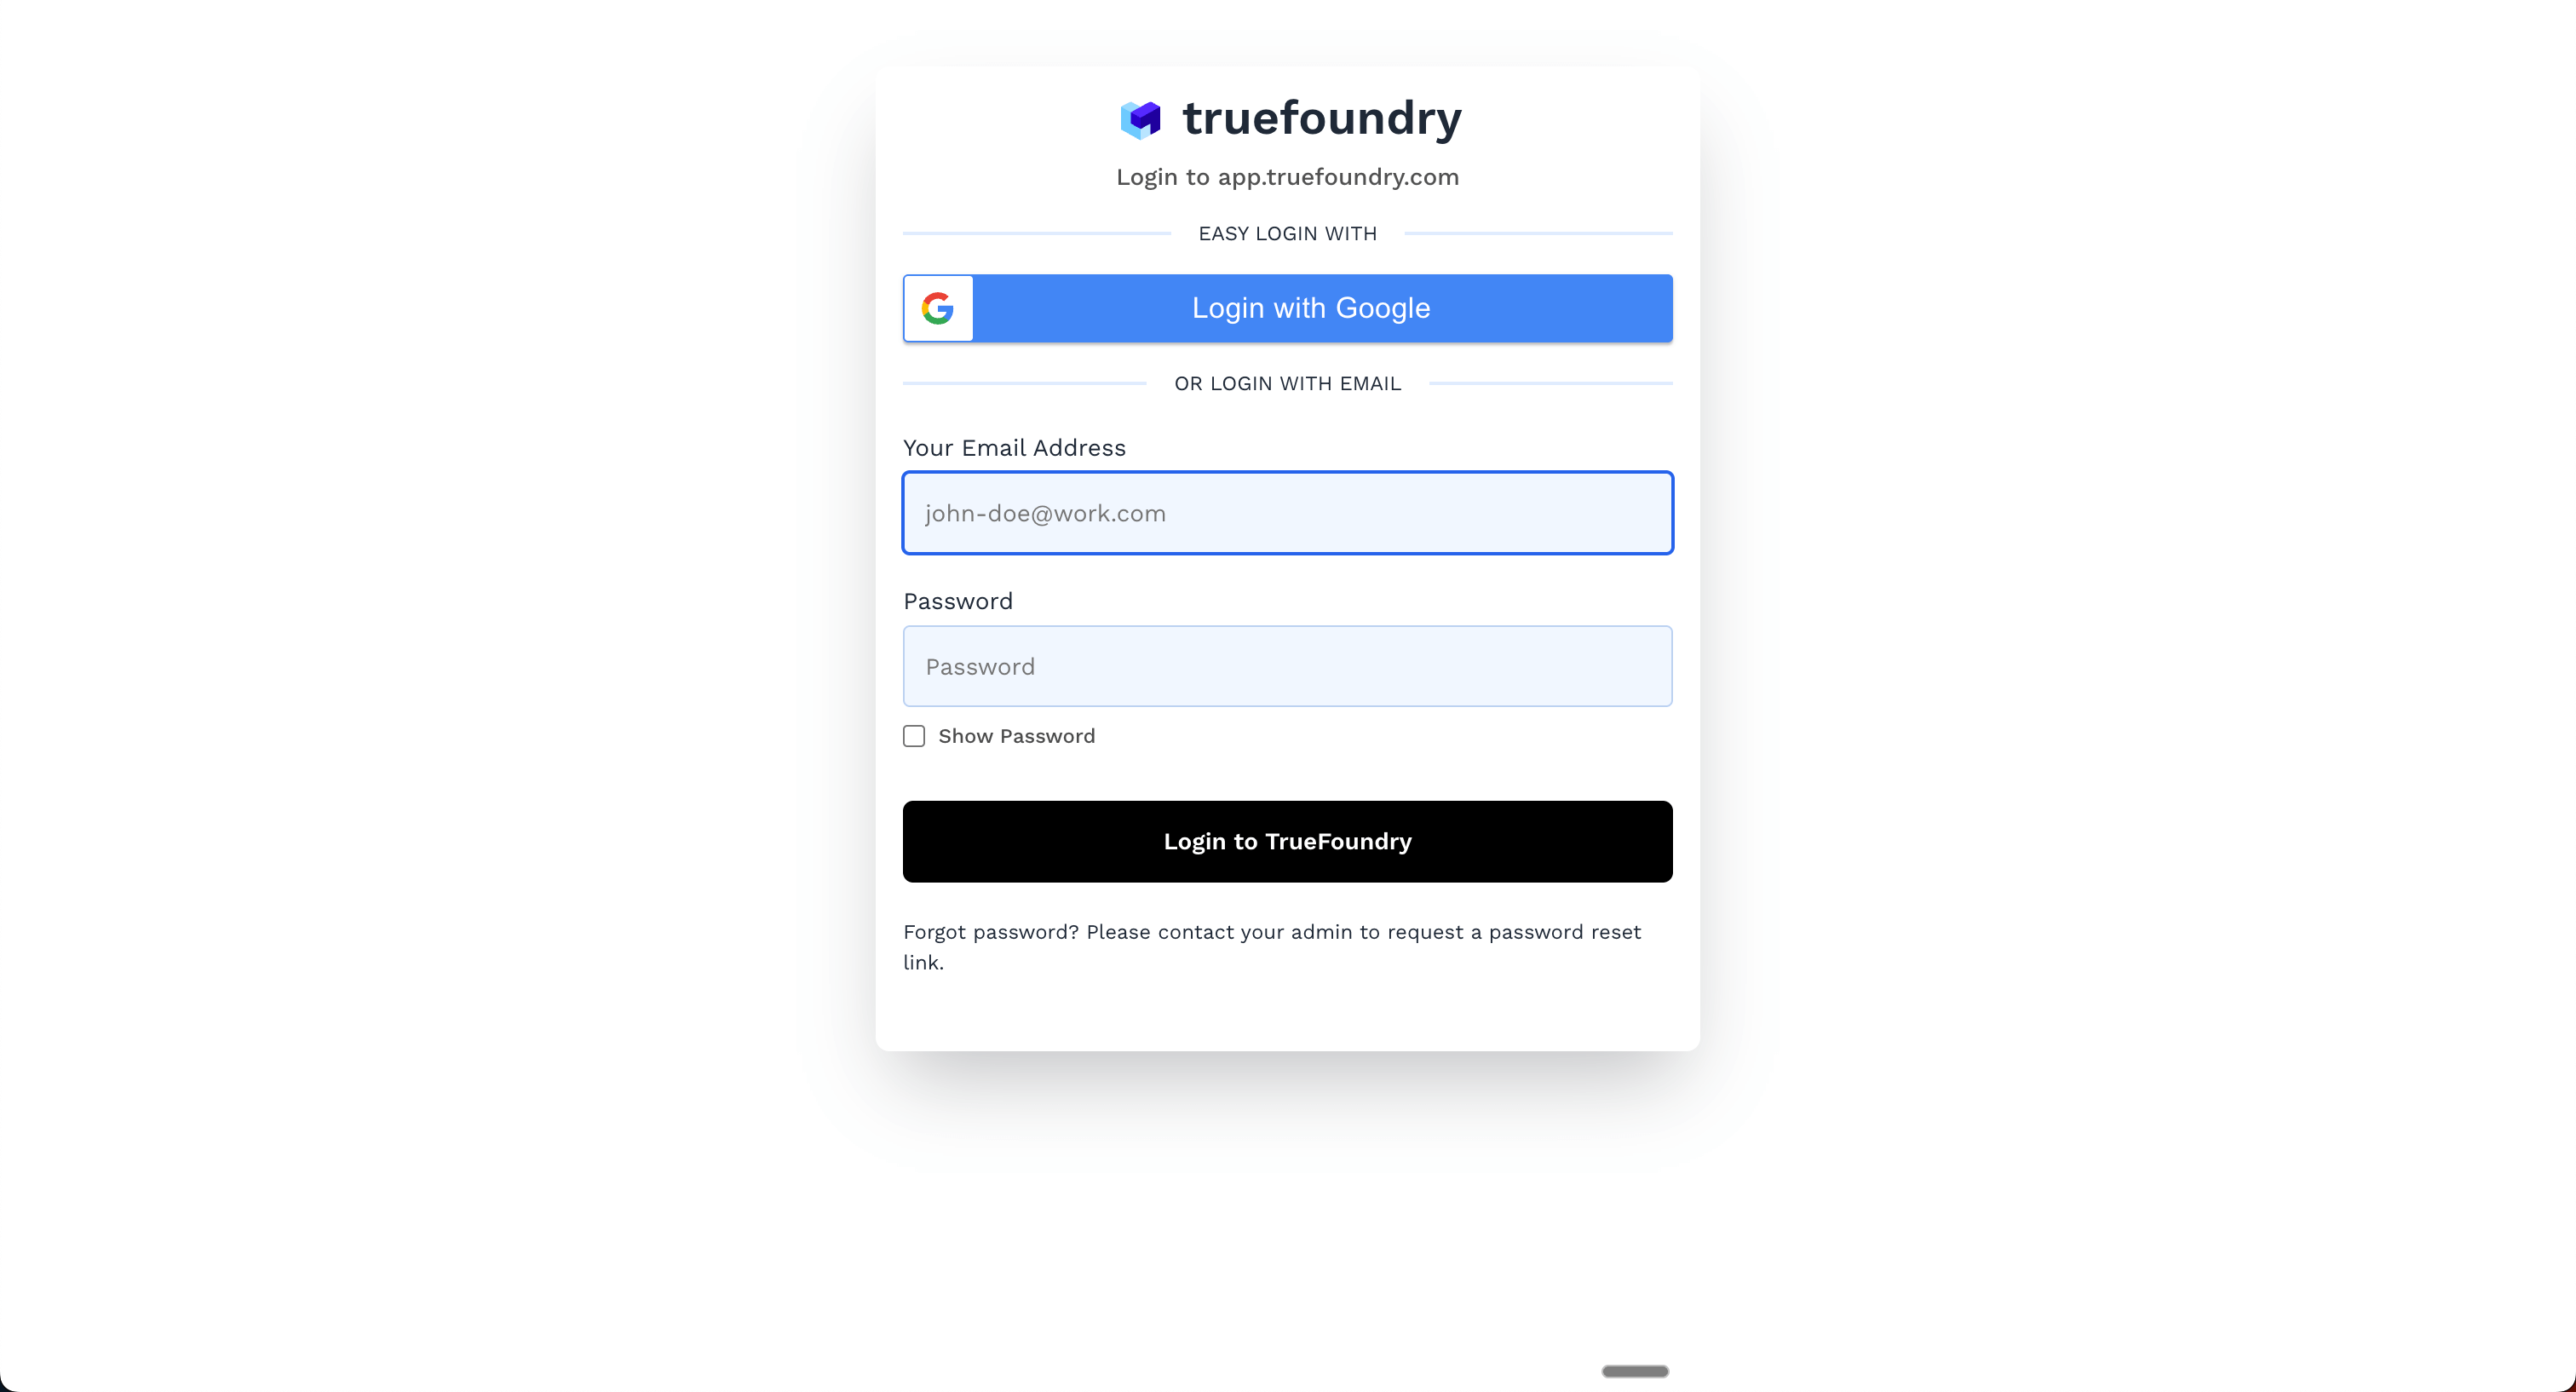
Turn on Just-in-time (JIT) when you want TrueFoundry to create users at login. When a user signs in with SSO and TrueFoundry receives a valid token from your IdP, TrueFoundry creates the user if they do not already exist. Users see a button likeLogin with Google|Azure|Okta|Keycloak depending on the IdP you have set up.
Manual (invite)
Turn on Manual (invite) when admins should explicitly control who can join the tenant. In this mode, admins invite users from Access > Users. This is useful for external collaborators, early rollouts, or tenants where access should be granted manually instead of automatically from the IdP.The user lifecycle
Once a user exists in a tenant, administrators manage the rest of their lifecycle from the users list. The actions available on a user — suspending their access, resetting their password, revoking their tokens, inspecting their teams and roles, reading their audit trail, and finally deleting them — are grouped in a menu on the user’s row.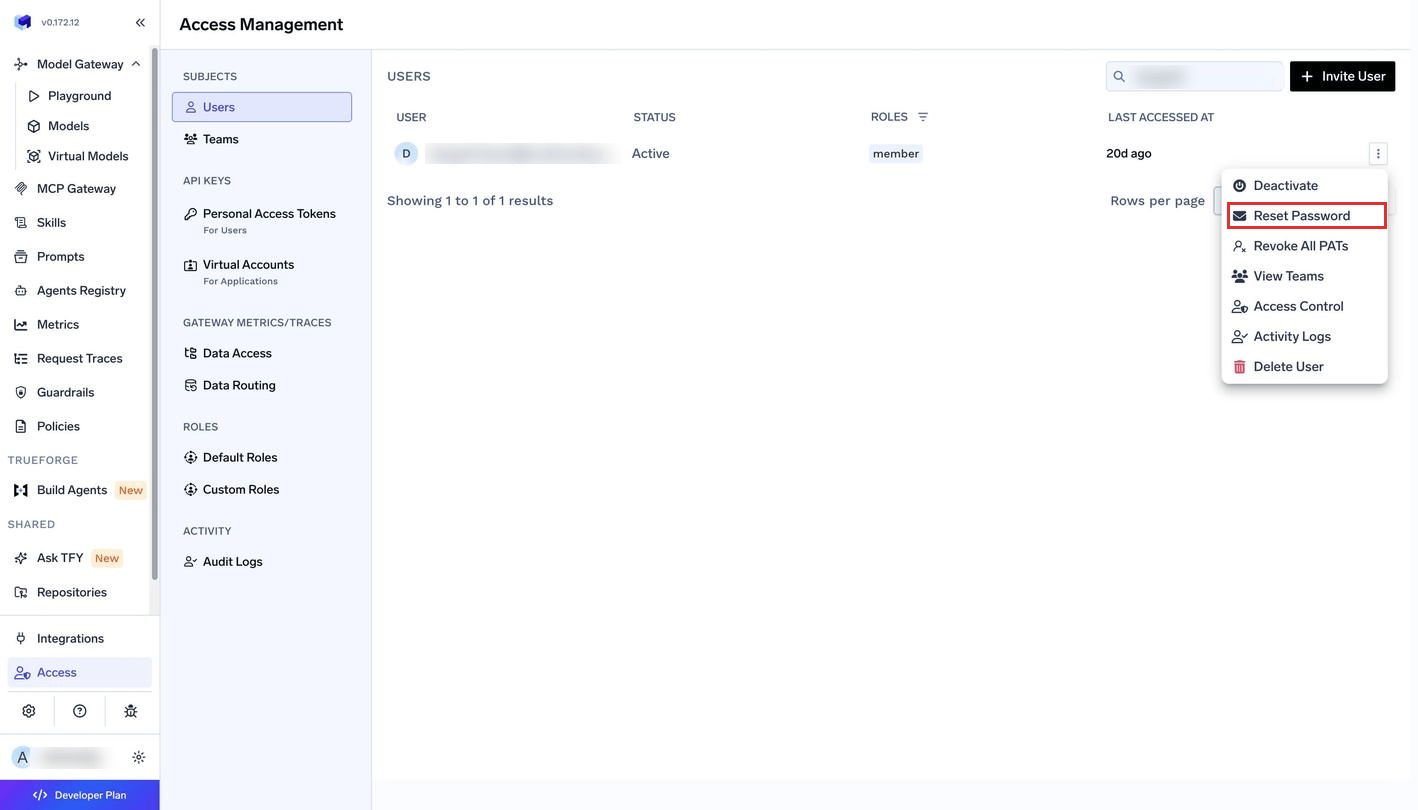
Actions available on a user
Adding a user manually
Manual invites exist for people who are not in your identity provider, or who need access before SSO rollout is complete. An invite only needs the person’s email address; TrueFoundry creates the account immediately and the user appears in the users list straight away. A new user starts with the baseline Member role, which every platform user carries. Anything beyond that baseline — a tenant role such as Admin, or permissions on specific resources — is granted separately, so an invite on its own does not give the person access to your workloads.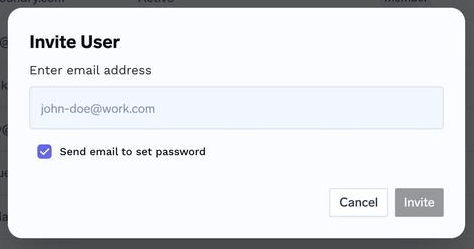
Suspending access
Deactivating a user marks the account inactive and blocks sign-in, but preserves the account, its roles, and its history. It is the right tool for a leave of absence, a suspected compromise, or a notice period — anything where you may want the user back. Deactivation is reversible, and TrueFoundry asks you to confirm it before applying.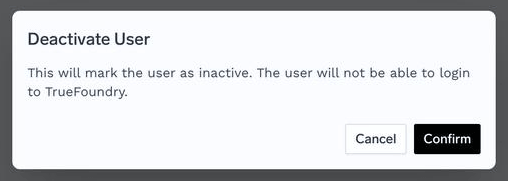
Deactivation confirmation
Deactivation covers programmatic access as well as interactive login. A
deactivated user’s Personal Access
Tokens
stop working too, so there is no separate step needed to close off their API
and CLI access.
Resetting a password
Password resets only apply to users who authenticate with a password; if your tenant is fully on SSO there is nothing to reset. Triggering a reset sends the user an email containing a link to choose a new password, and does not change their current password until they use it.Deleting a user
Deletion permanently removes the account. Resources the user created are not affected — they remain in their workspaces and keep running — but the user themselves, along with their roles and tokens, is gone and cannot be restored. Prefer deactivation unless you are certain the person will not return. Because deletion is irreversible, the confirmation dialog requires you to type the user’s email address before it will proceed.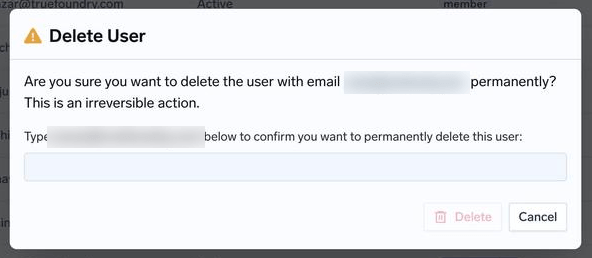
Deletion requires typing the user's email to confirm
Roles, teams, and audit history
Role assignment is not done from the users list itself. The Access Control action opens the user’s role and permission assignments. This is where you move a user off the default Member baseline — to Admin or Read-Only Member, or to a custom role — and where resource-scoped permissions are granted. The baseline that Member itself confers is defined once for the whole tenant under Access > Default Roles, not per user. View Teams shows the teams the user belongs to, and Activity Logs shows the audit trail of what the user has done.Manage users programmatically
Admins can manage users programmatically using APIs. See the complete API reference here.FAQs
How to manage the session timeout for User in Browser?
How to manage the session timeout for User in Browser?
Default session timeout for User in Browser is followiing:
Access Token - 7 days of expiry
Refresh Token - 30 days of expiryIf you wish to change it, please connect with TrueFoundry team over support@truefoundry.com to update it.For self-hosted TrueFoundry setup, please also update the following env: