Prerequisites
Before you begin, make sure you have:- Access to your Bitbucket Data Center instance with permission to create HTTP access tokens or personal access tokens
- Permission to manage Git integrations in your TrueFoundry tenant
- A Personal Access Token from your Bitbucket Data Center instance (see Create a Personal Access Token at the end of this page)
Step 1: Navigate to Integrations
In the TrueFoundry dashboard, select Integrations from the left sidebar.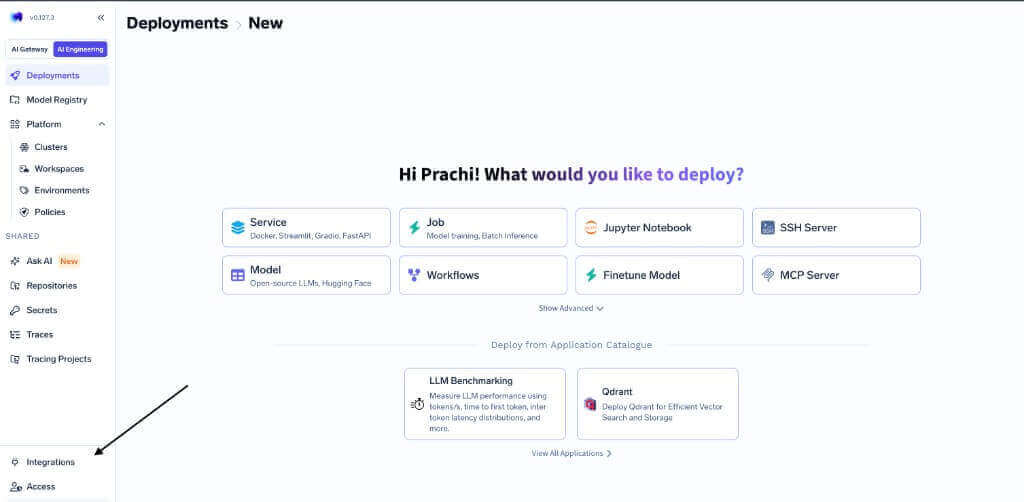
Open Integrations from the sidebar
Step 2: Open Git Integrations
On the Integrations page, open the Git tab and click + Add Git Credentials.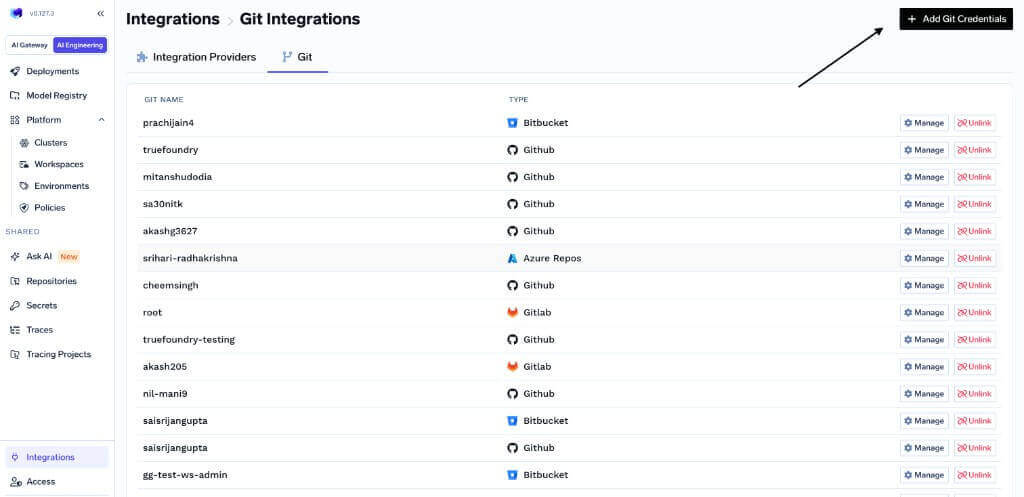
Add Git Credentials on the Git Integrations page
Step 3: Select Bitbucket Data Center
In the Add New Git Credentials panel, select Bitbucket Data Center as your Git provider.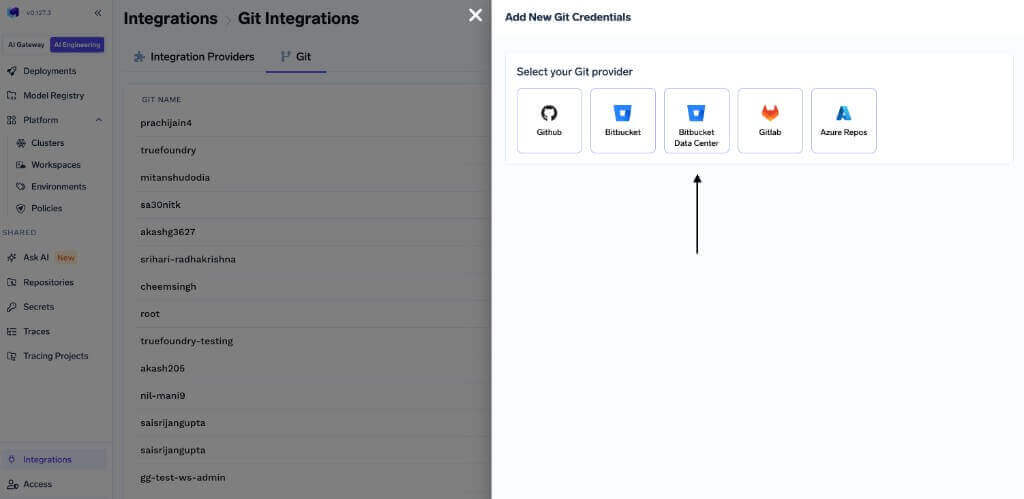
Select Bitbucket Data Center as the Git provider
Step 4: Select Personal Access Token
Under Select a method, choose Personal Access Token.
Choose Personal Access Token as the authentication method
Step 5: Add credentials and submit
Fill in the Add Bitbucket Data Center PAT form:- Name (required): A descriptive name for this integration, such as
BBDC-test-token. - Personal Access Token (required): Paste your Bitbucket Data Center PAT.
- Access Control (optional): Restrict which users can use this integration. Add user FQNs in the format
<user_type>:<username>— for example,user:prachi-jain.
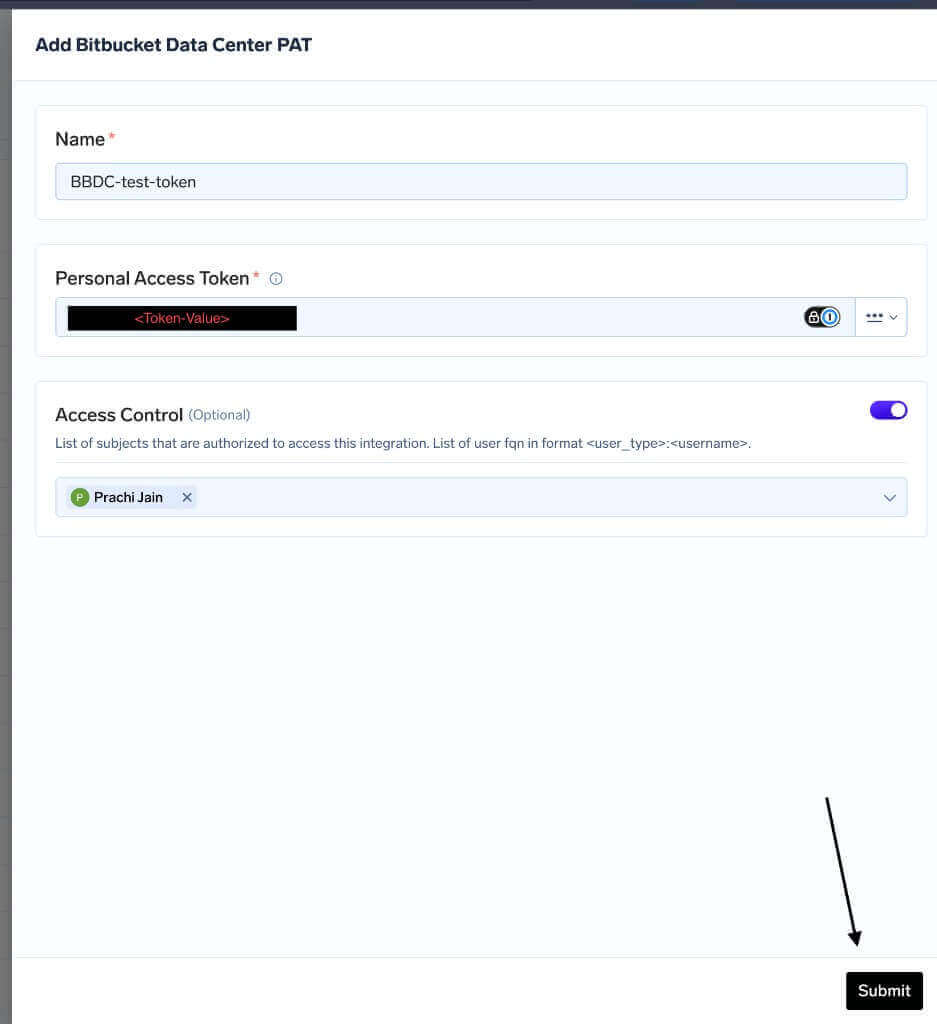
Complete the PAT form and submit
Next steps
Once the integration is linked, you can deploy services from Bitbucket Data Center repositories and set up GitOps CI/CD for your workloads.Create a Personal Access Token
If you do not already have a PAT, create one in your Bitbucket Data Center instance:- Sign in to your Bitbucket Data Center instance.
- Open your profile settings and navigate to HTTP access tokens or Personal access tokens (the label depends on your Bitbucket Data Center version).
- Create a new token with a descriptive name.
- Grant the token permissions to read repositories. If you plan to use CI/CD features that open pull requests, also grant write access to repositories and pull requests.
- Copy the token value and store it securely. You will not be able to view it again after you leave the page.