

Before you start
Confirm the tools and the cluster context. Every command below runs against the current context.Build the chart
The chart is in the LibreChat repository underhelm/librechat. Clone the release you are deploying, then package the chart from a clean copy:
~/charts/librechat-3.2.1.tgz. Package from a clean copy. A .cache or .kube directory inside the chart folder enlarges the release secret, and Helm rejects the install with Request entity too large (see Troubleshooting).
Create the namespace and the app secret
LibreChat keeps four app secrets: two keys that encrypt stored credentials and two JWT secrets. Generate them when you create the secret. Do not write them into a values file or a chart.MEILI_MASTER_KEY to this secret. This guide leaves Meilisearch off.
Write the configuration
LibreChat needs two files:librechat.yamlis LibreChat’s own configuration. The chart mounts it into the pod.gw-values.yamlis the Helm values file. It adds the gateway token to the pod’s environment, read from the secret.
librechat.yaml
<tenant> with your control-plane host. Set models.default to a model you granted, in its provider-qualified form.
gw-values.yaml
librechat-gateway-key, key TFY_GATEWAY_KEY, which you created in Gateway access.
Check that both files parse:
yaml ok. Each nested field sits two spaces to the right of its parent.
Install the chart
Wait for the rollout, then check the pods and volumes:
1/1 Running, and the volume claims show Bound. Old pods from an earlier revision can show Completed for a while.
Check the logs for the gateway endpoint:
Connected to MongoDB, the custom endpoint TrueFoundry Gateway with your baseURL, and no ZodError. The line RAG API is either not running or not reachable is expected: this guide disables the RAG subchart.
Confirm that the pod loaded your default model:
models.default value.
Verify the gateway path
Run these checks in order. Each one isolates one part of the path, so a failure points to the part to fix. The LibreChat image has nocurl. Run the checks with Node, which the image includes. The script reads the token from the pod’s environment, so the token never appears in the command.
1
List the models your token can see
status 200, then one provider-qualified model ID per line. Copy the ID you granted. This list can include models the token cannot call. The next two checks decide which ones it can.2
Send a request to a granted model
azure-openai-main/o4-mini with the model you granted.Expected: 200, with a completion in the response body.3
Send a request to a model you did not grant
Run the same command with a model ID that the token has no grant for.Expected:
403, with a message that names the virtual account and the model. A 403 on an ungranted model is the correct result. An ungranted model must never return 200.4
Open LibreChat in a browser
Forward the service to your machine:Open Expected output:
http://localhost:8080. Then check the configuration endpoint, which returns 200:200. This version has no /api/health endpoint, and it returns 404.LibreChat rejects requests that lack a browser
User-Agent with Illegal request. If your script sends requests to the LibreChat API, set a browser-like User-Agent header. The browser needs no change.Sign in and send the first message
LibreChat ships with registration off. To create the first user for an evaluation, turn registration on for the install, create the account, then turn it off: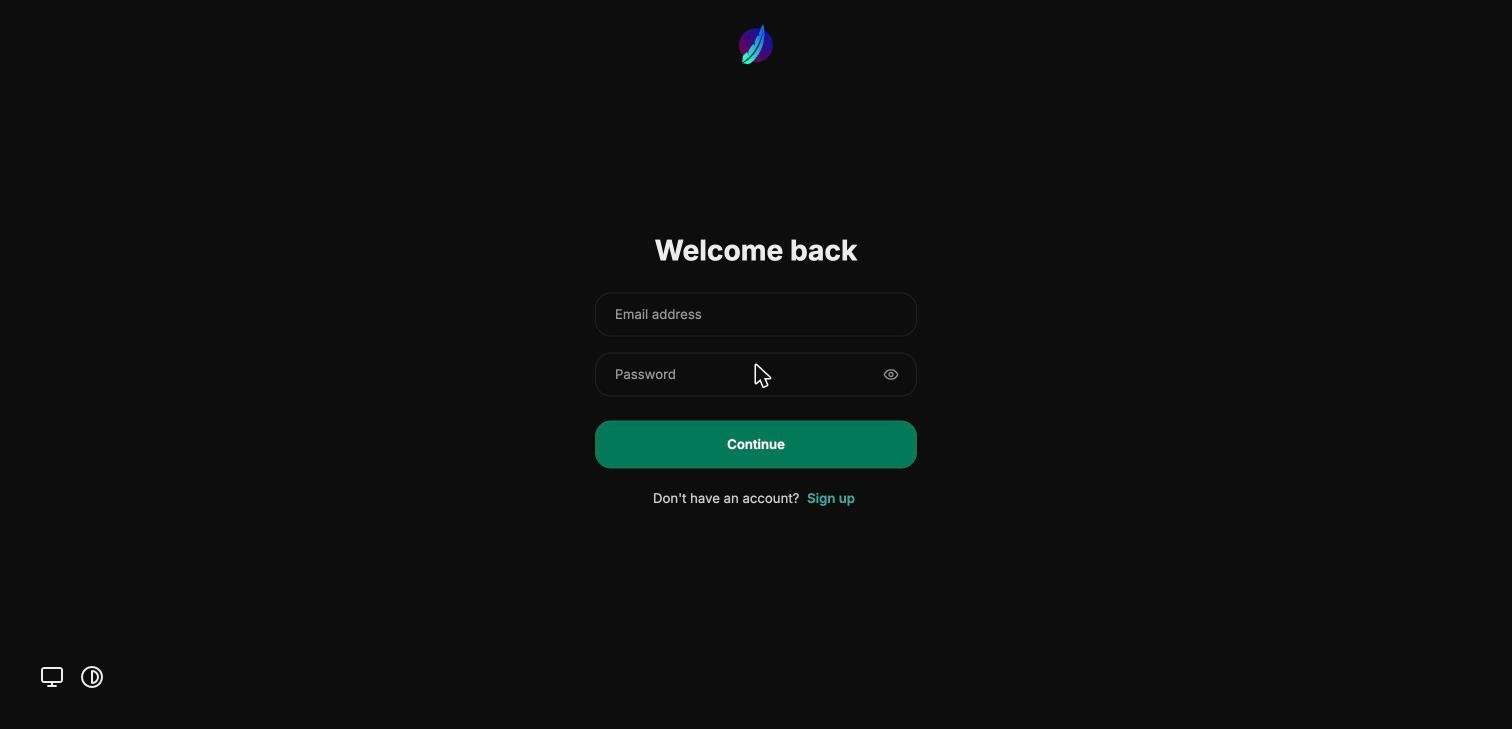
The sign-in page on the local port-forward address.
azure-openai-main/o4-mini. Send a short message.
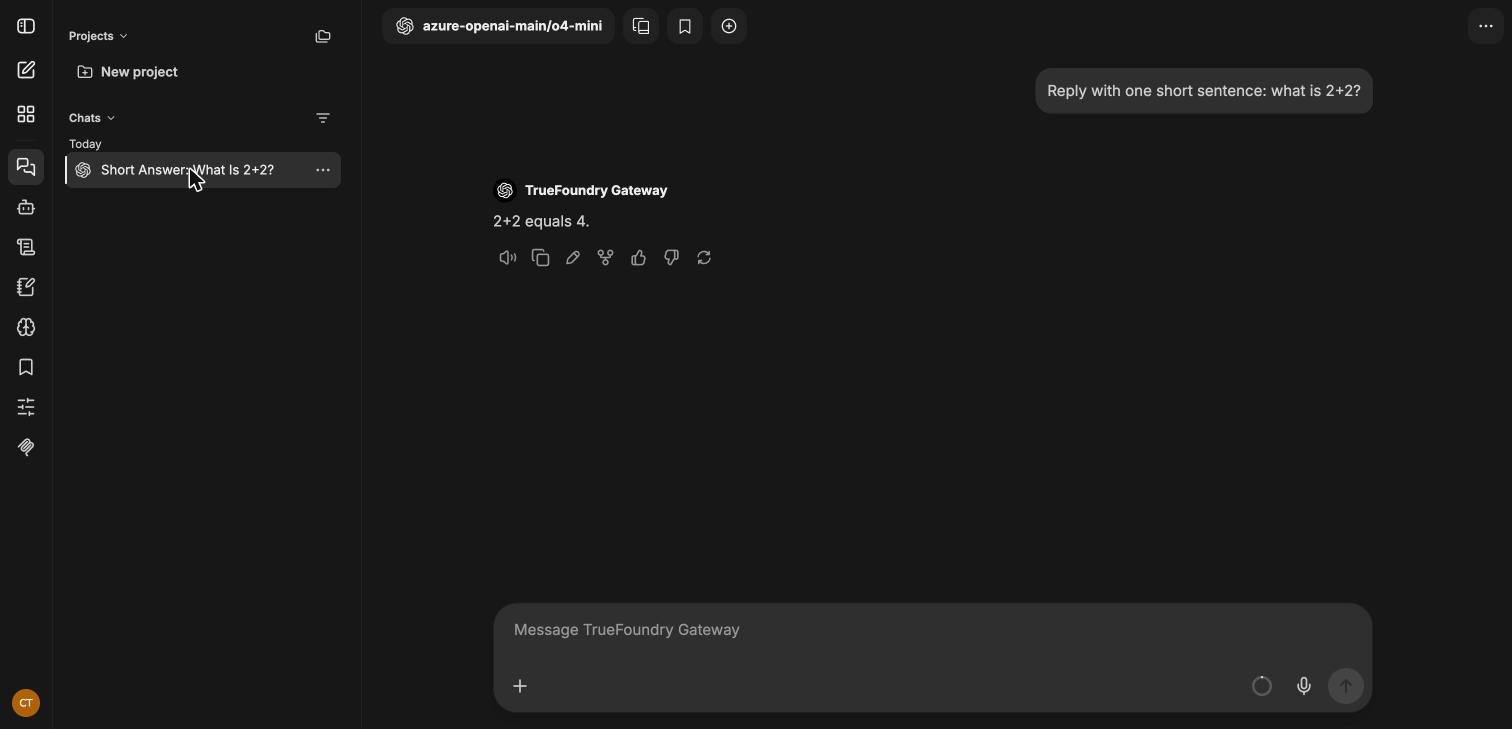
A reply from azure-openai-main/o4-mini, returned through the gateway.
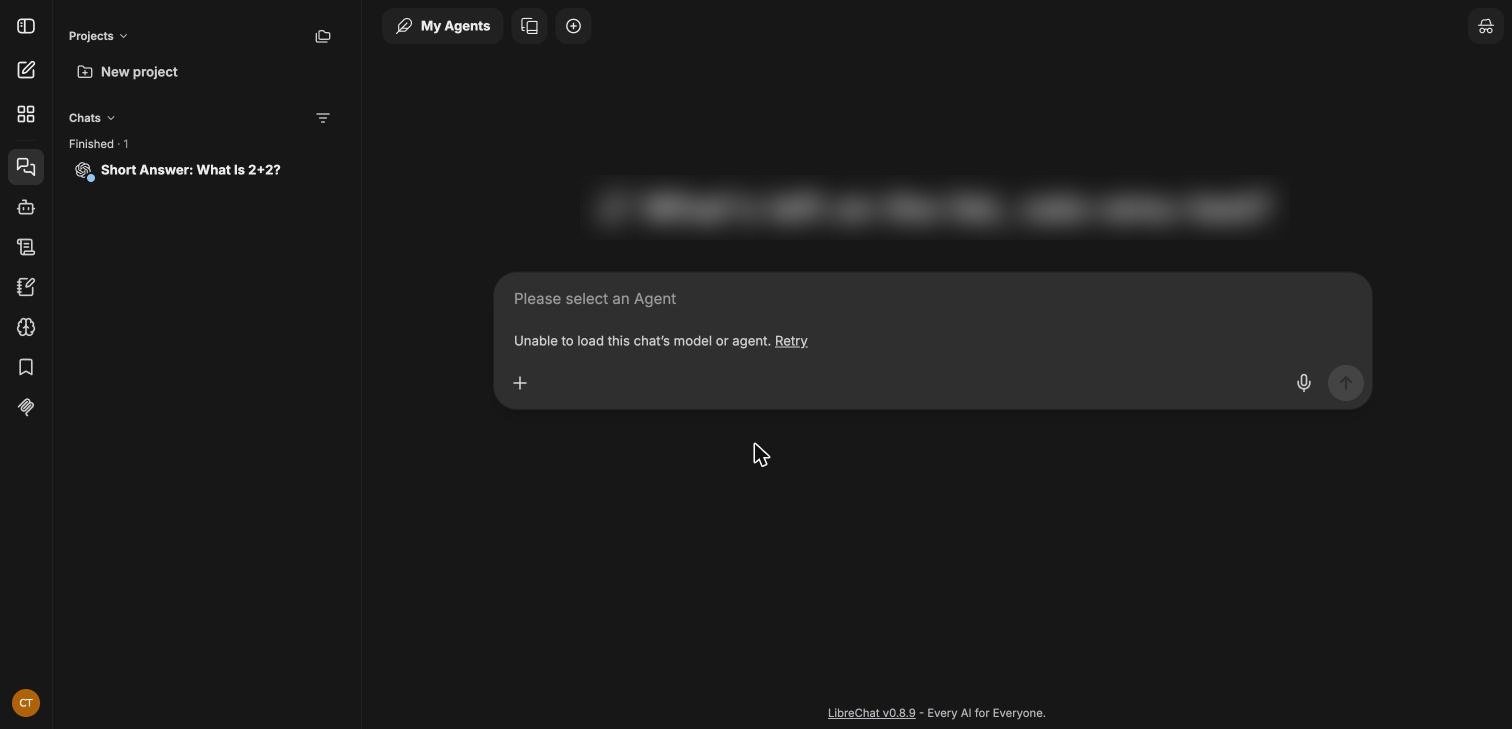
A new chat before a model is selected in the header.
What’s next
- To change the default model, rotate the token, or remove the release, see Operate and troubleshoot.