> ## Documentation Index
> Fetch the complete documentation index at: https://www.truefoundry.com/llms.txt
> Use this file to discover all available pages before exploring further.
# Dockerize Your Code
> Learn how to dockerize your code for deployment on TrueFoundry.
Its a good practice to always dockerize your code while deploying so that it is guaranteed to run anywhere. TrueFoundry helps you deploy your code on Kubernetes for which you will first need to create a docker image for your codebase.
For any deployment to work in TrueFoundry, its essential to have a docker registry integrated with TrueFoundry. This should have been already done by the Infra team during the [setup step](/docs/infrastructure/deploy-compute-plane).
TrueFoundry can help you deploy in all the three use cases:
To deploy a already present docker image, choose the option of `Docker Image` in the Service Deployment form.
Choosing the docker registry is optional - TrueFoundry will automatically try to check if the image is present in any of the integrated registries.
1. Select the Git Repo option in the Service Deployment form
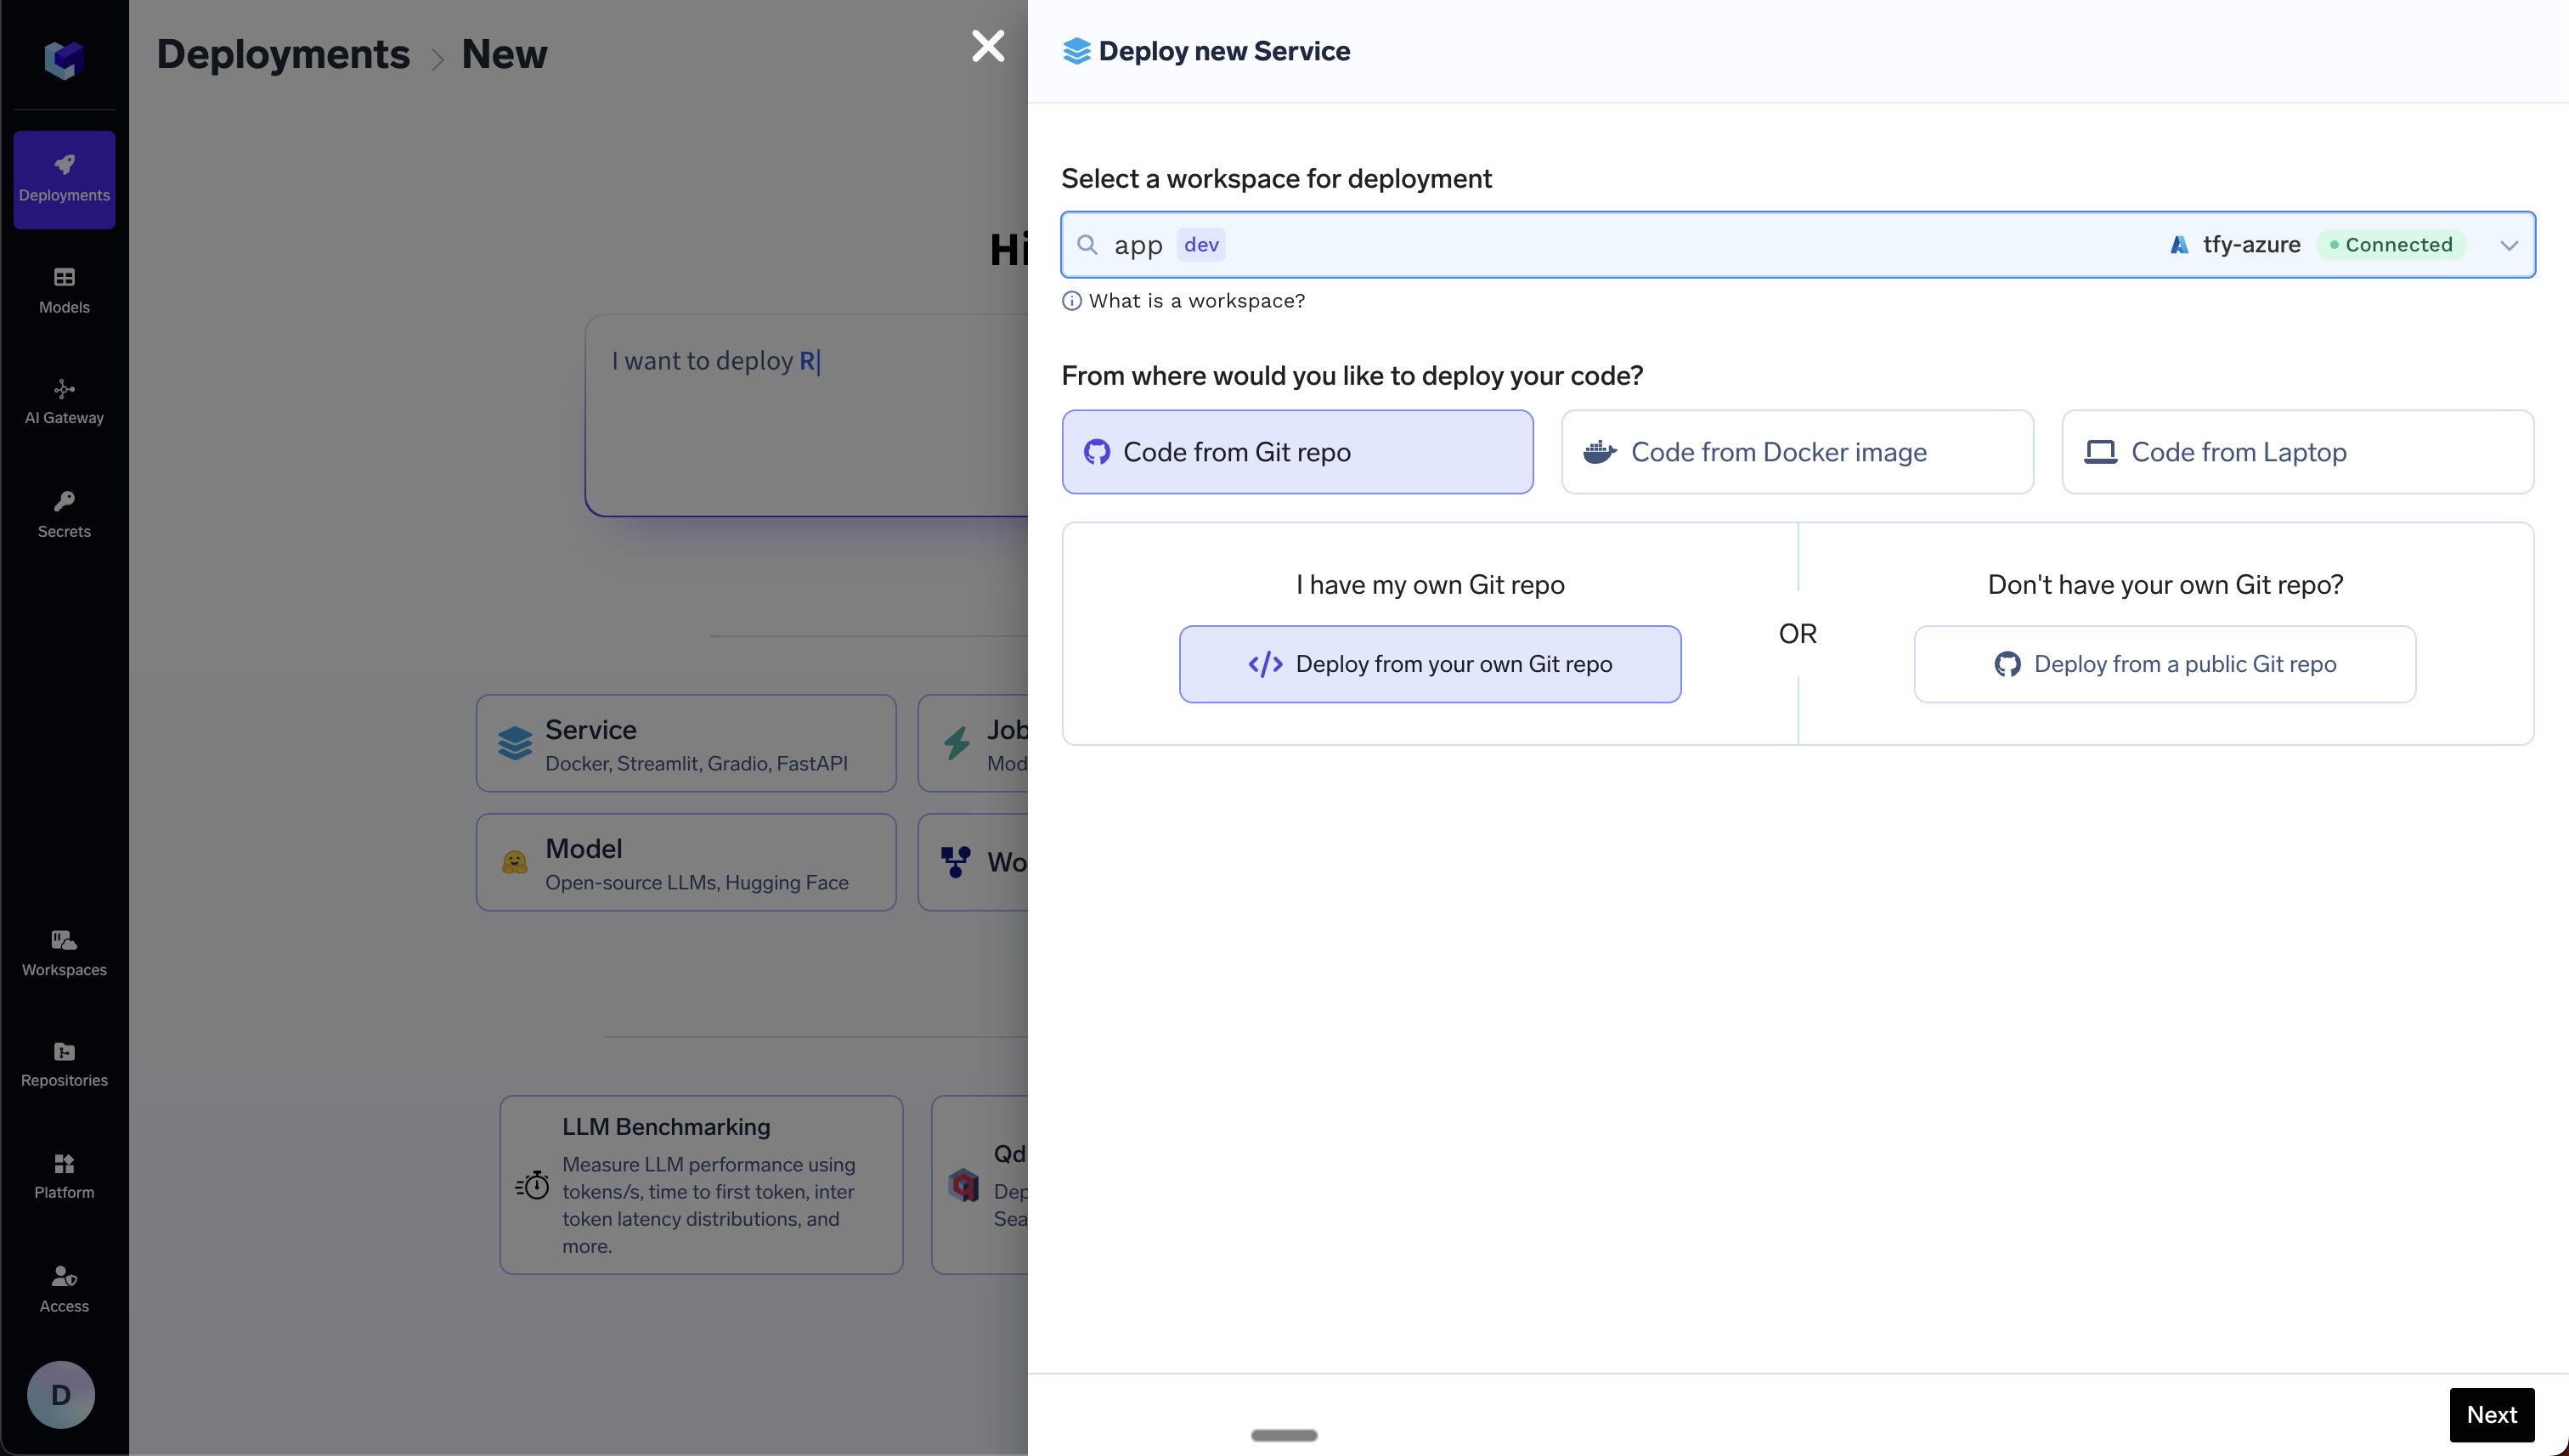 2. Choose your repository in the Repo URL box and the option `Dockerfile (I already have DockerFile)` in the Build section.
You will need to fill up 2 field here:
1. **Path to Build Context**: This is the path in the Git repository where the code to be deployed is present. Usually this is the root directory of the Git repo and the value is `"./"`, however, if you have multiple services in the same repo, you can specify the path to the directory containing the service you want to deploy - for e.g. `"my-service/"`.
2. **Path to Dockerfile**: This is the path to the Dockerfile in the Git repository - relative to the `Path to Build Context`. For e.g. if the Dockerfile is present in the `my-service` directory, and you have provided the build context as `"my-service/"`, then the path to the Dockerfile is `"./Dockerfile"`. However, if the `Path to Build Context` is `"./"`, then the path to the Dockerfile should be `"./my-service/Dockerfile"`.
2. Choose your repository in the Repo URL box and the option `Dockerfile (I already have DockerFile)` in the Build section.
You will need to fill up 2 field here:
1. **Path to Build Context**: This is the path in the Git repository where the code to be deployed is present. Usually this is the root directory of the Git repo and the value is `"./"`, however, if you have multiple services in the same repo, you can specify the path to the directory containing the service you want to deploy - for e.g. `"my-service/"`.
2. **Path to Dockerfile**: This is the path to the Dockerfile in the Git repository - relative to the `Path to Build Context`. For e.g. if the Dockerfile is present in the `my-service` directory, and you have provided the build context as `"my-service/"`, then the path to the Dockerfile is `"./Dockerfile"`. However, if the `Path to Build Context` is `"./"`, then the path to the Dockerfile should be `"./my-service/Dockerfile"`.
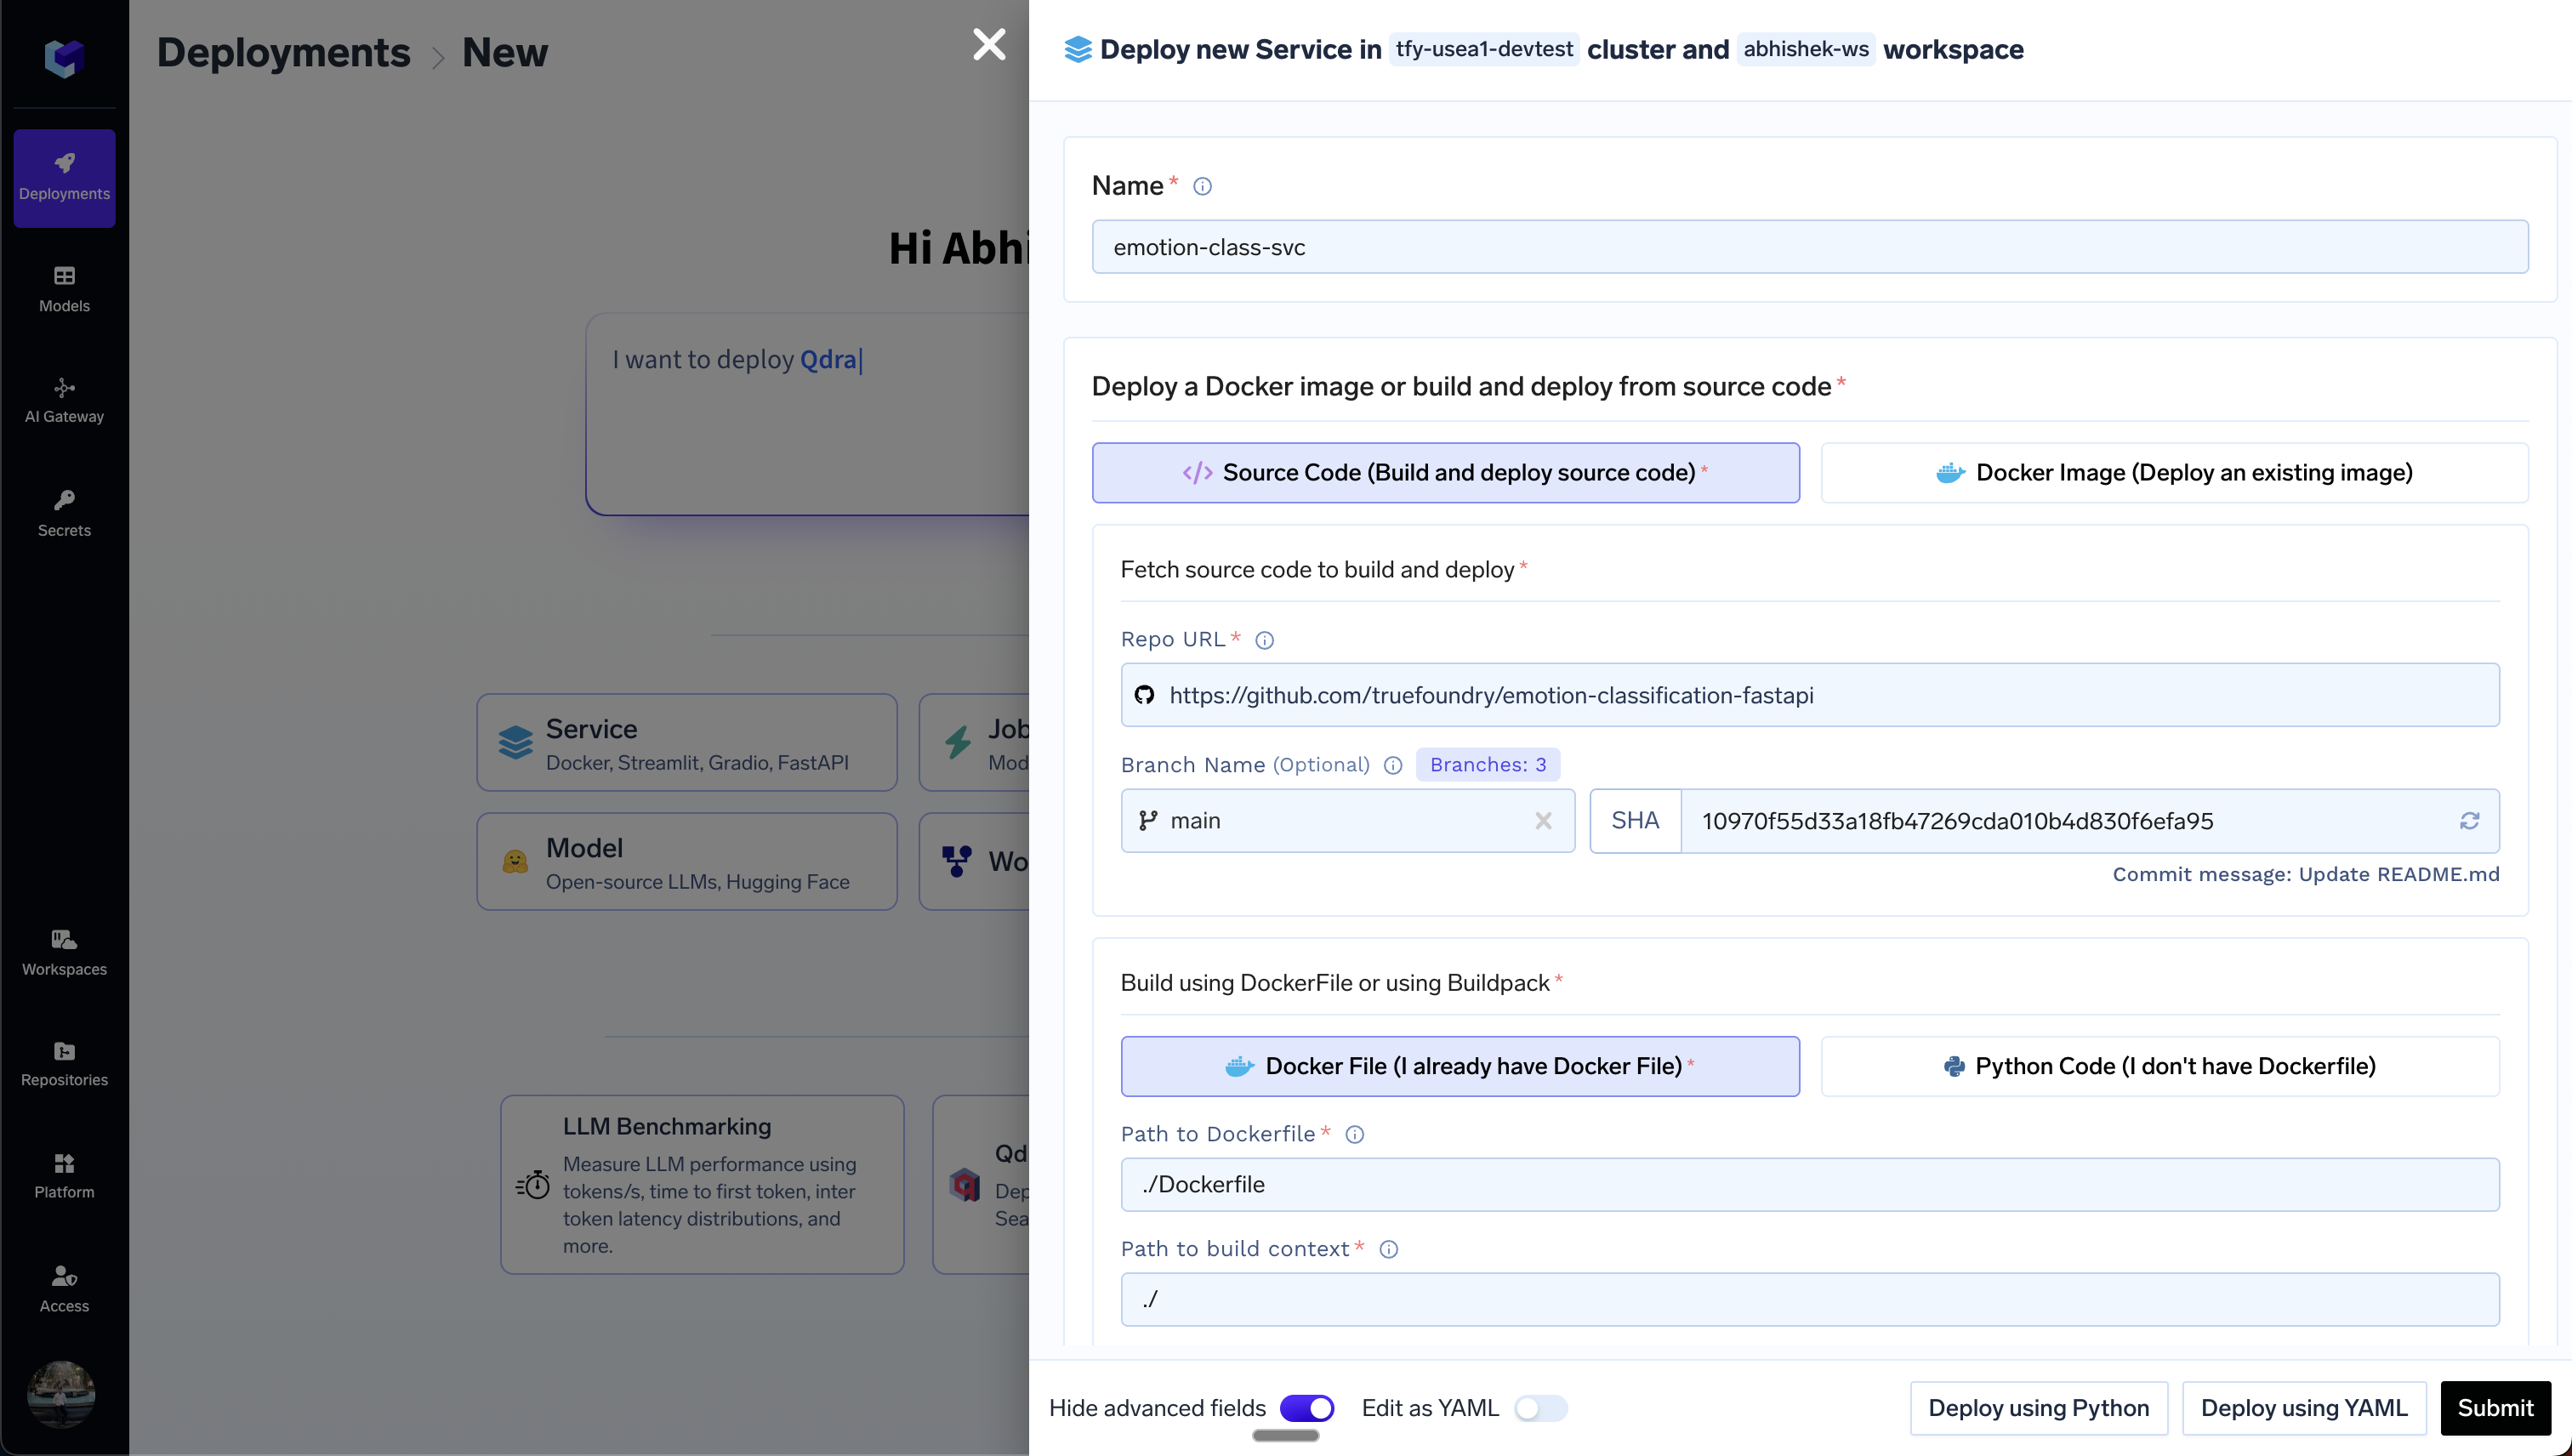 This option only works for Python code that uses requirements.txt to manage dependencies. For other frameworks and languages, you will need to write a Dockerfile and follow the option 2 above.
1. Select the Git Repo option in the Service Deployment form
2. Choose your repository in the Repo URL box and the option `Python Code (I don't have Dockerfile)` in the Build section.
You will need to fill up the following fields here:
1. **Path to Build Context**: This is the path in the Git repository where the code to be deployed is present. Usually this is the root directory of the Git repo and the value is `"./"`, however, if you have multiple services in the same repo, you can specify the path to the directory containing the service you want to deploy - for e.g. `"my-service/"`.
2. **Path to requirements.txt**: This is the path to requirements.txt in the Git repository - relative to the `Path to Build Context`. For e.g. if the requirements.txt is present in the `my-service` directory, and you have provided the build context as `"my-service/"`, then the path to the requirements.txt is `"./requirements.txt"`. However, if the `Path to Build Context` is `"./"`, then the path to the requirements.txt should be `"./my-service/requirements.txt"`.
3. **Python Version**: This is the Python version to be used to build the image. This should be the same Python version using which the code has been written and tested.
4. **Command**: This is the command to be used to run the code. This should be the same command which you are using to run the code locally.
This option only works for Python code that uses requirements.txt to manage dependencies. For other frameworks and languages, you will need to write a Dockerfile and follow the option 2 above.
1. Select the Git Repo option in the Service Deployment form
2. Choose your repository in the Repo URL box and the option `Python Code (I don't have Dockerfile)` in the Build section.
You will need to fill up the following fields here:
1. **Path to Build Context**: This is the path in the Git repository where the code to be deployed is present. Usually this is the root directory of the Git repo and the value is `"./"`, however, if you have multiple services in the same repo, you can specify the path to the directory containing the service you want to deploy - for e.g. `"my-service/"`.
2. **Path to requirements.txt**: This is the path to requirements.txt in the Git repository - relative to the `Path to Build Context`. For e.g. if the requirements.txt is present in the `my-service` directory, and you have provided the build context as `"my-service/"`, then the path to the requirements.txt is `"./requirements.txt"`. However, if the `Path to Build Context` is `"./"`, then the path to the requirements.txt should be `"./my-service/requirements.txt"`.
3. **Python Version**: This is the Python version to be used to build the image. This should be the same Python version using which the code has been written and tested.
4. **Command**: This is the command to be used to run the code. This should be the same command which you are using to run the code locally.
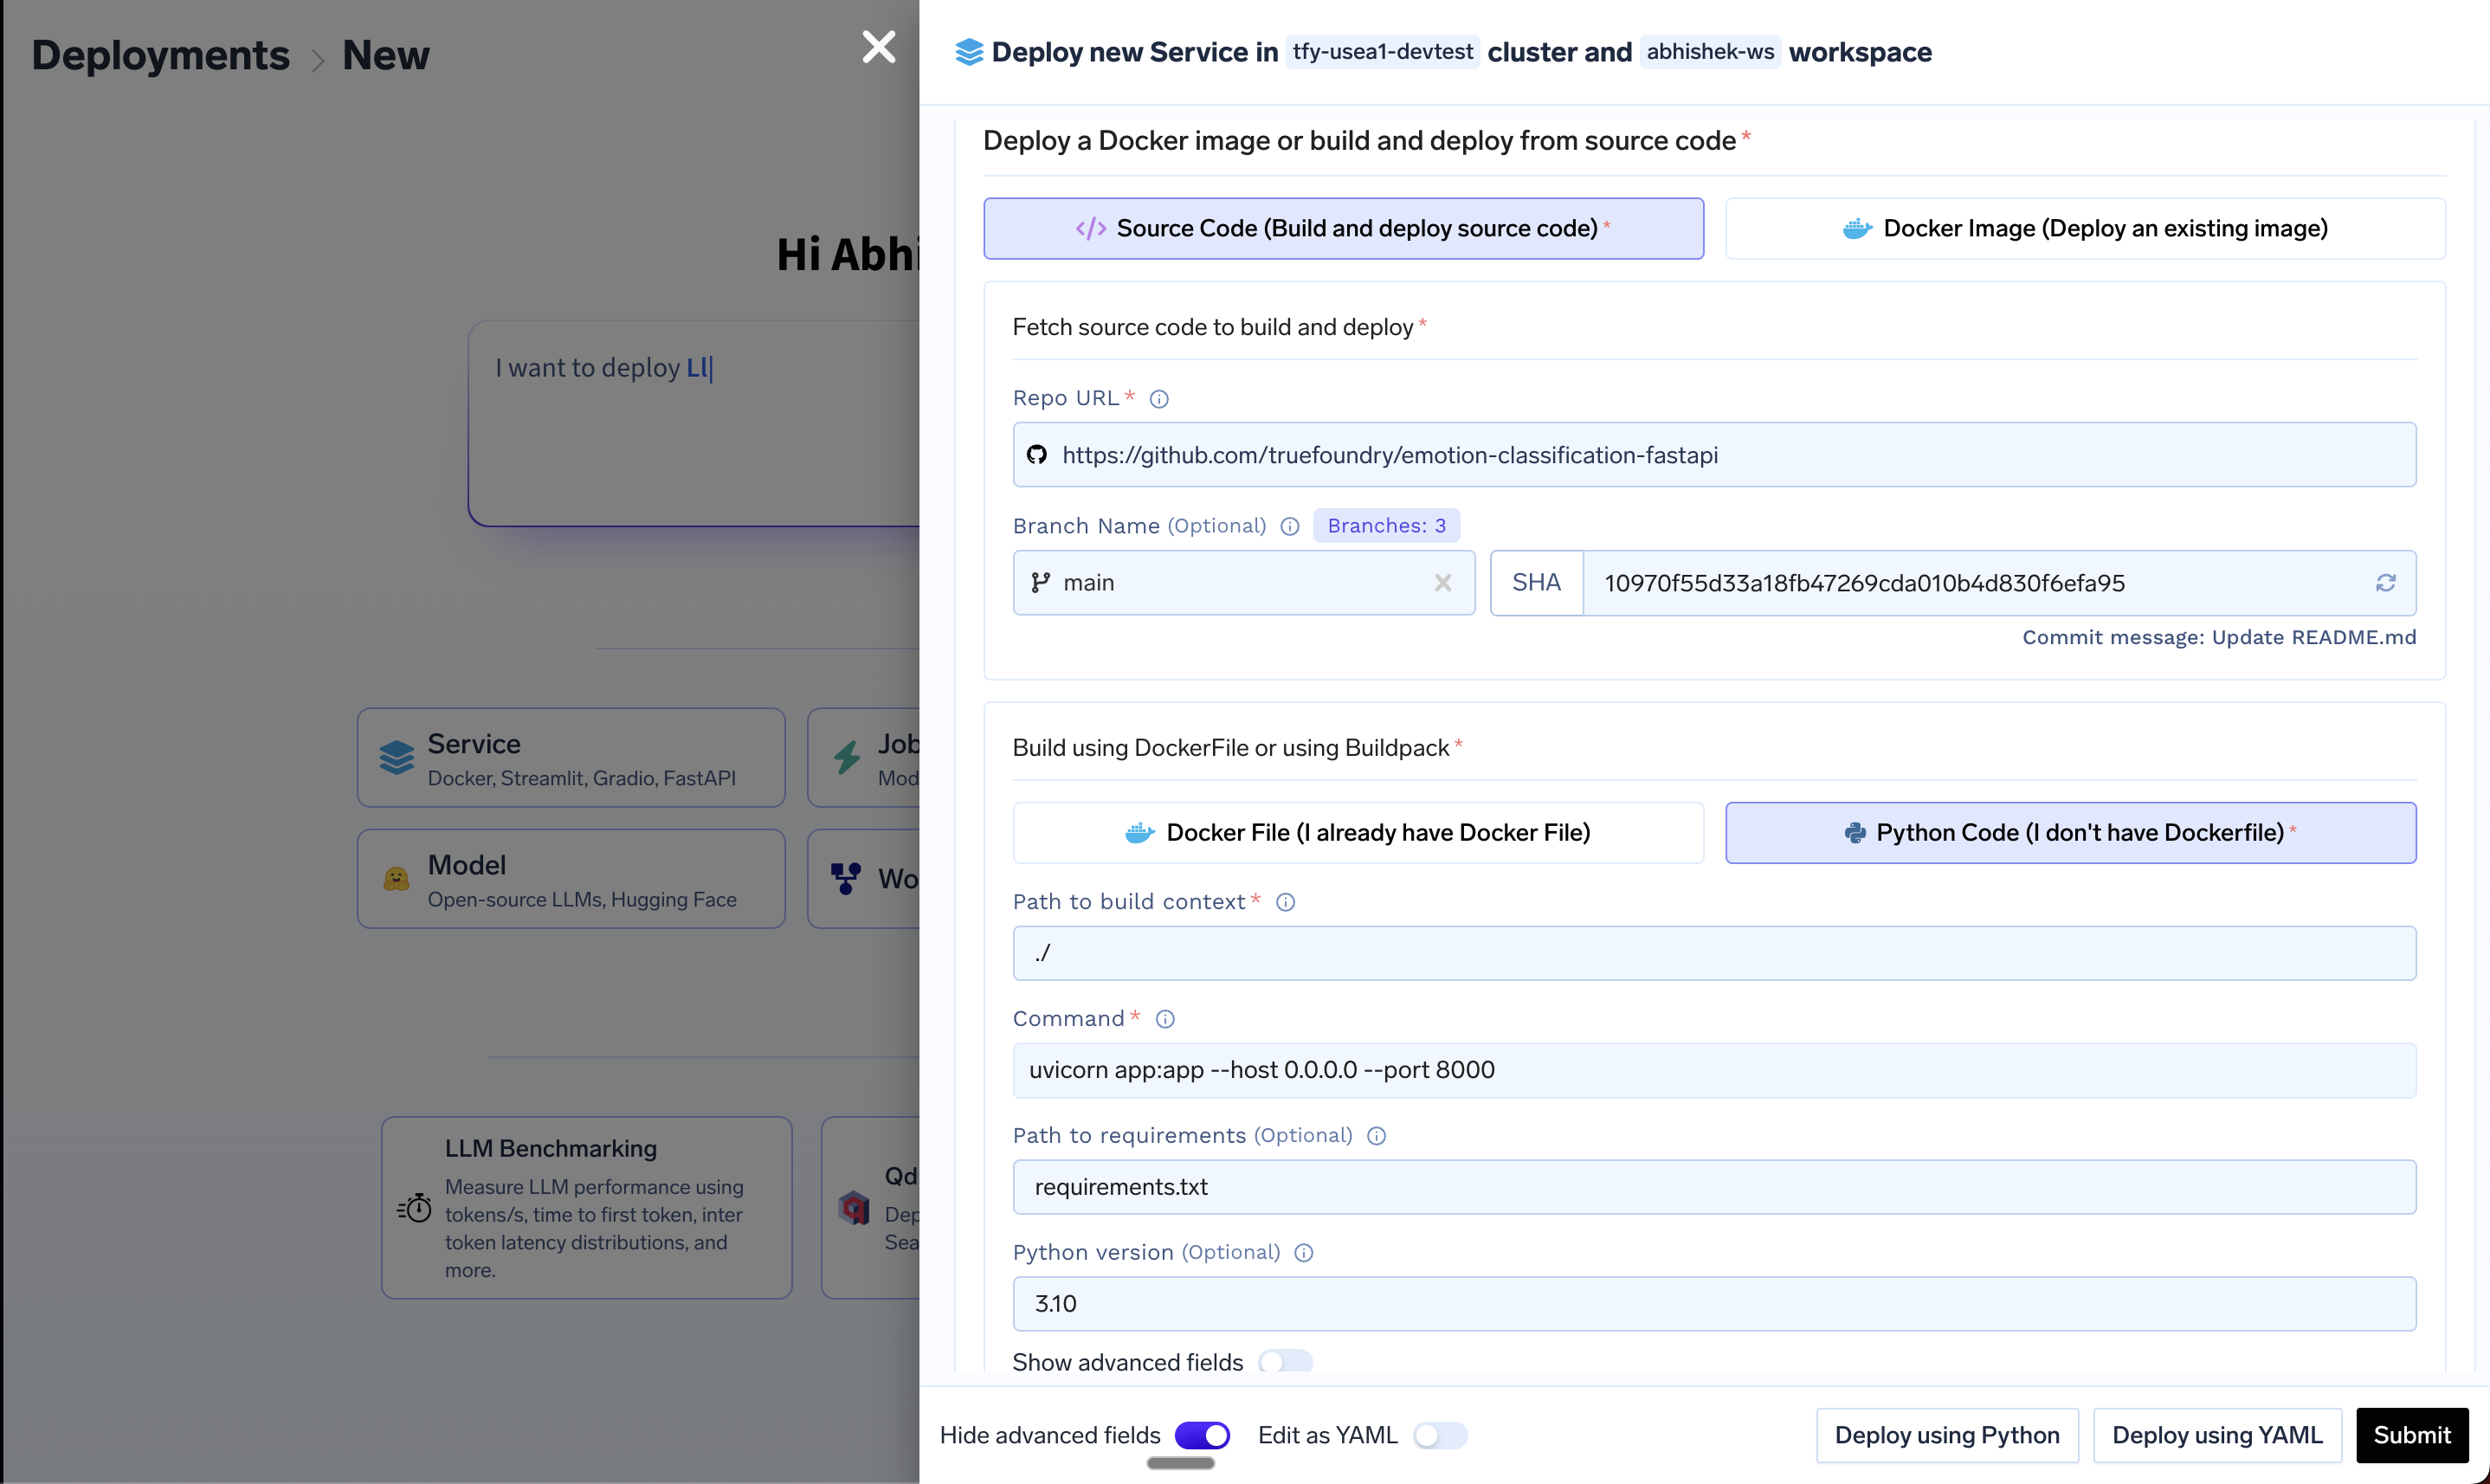 1. Select the option `Code From Laptop` in the Service Deployment form.
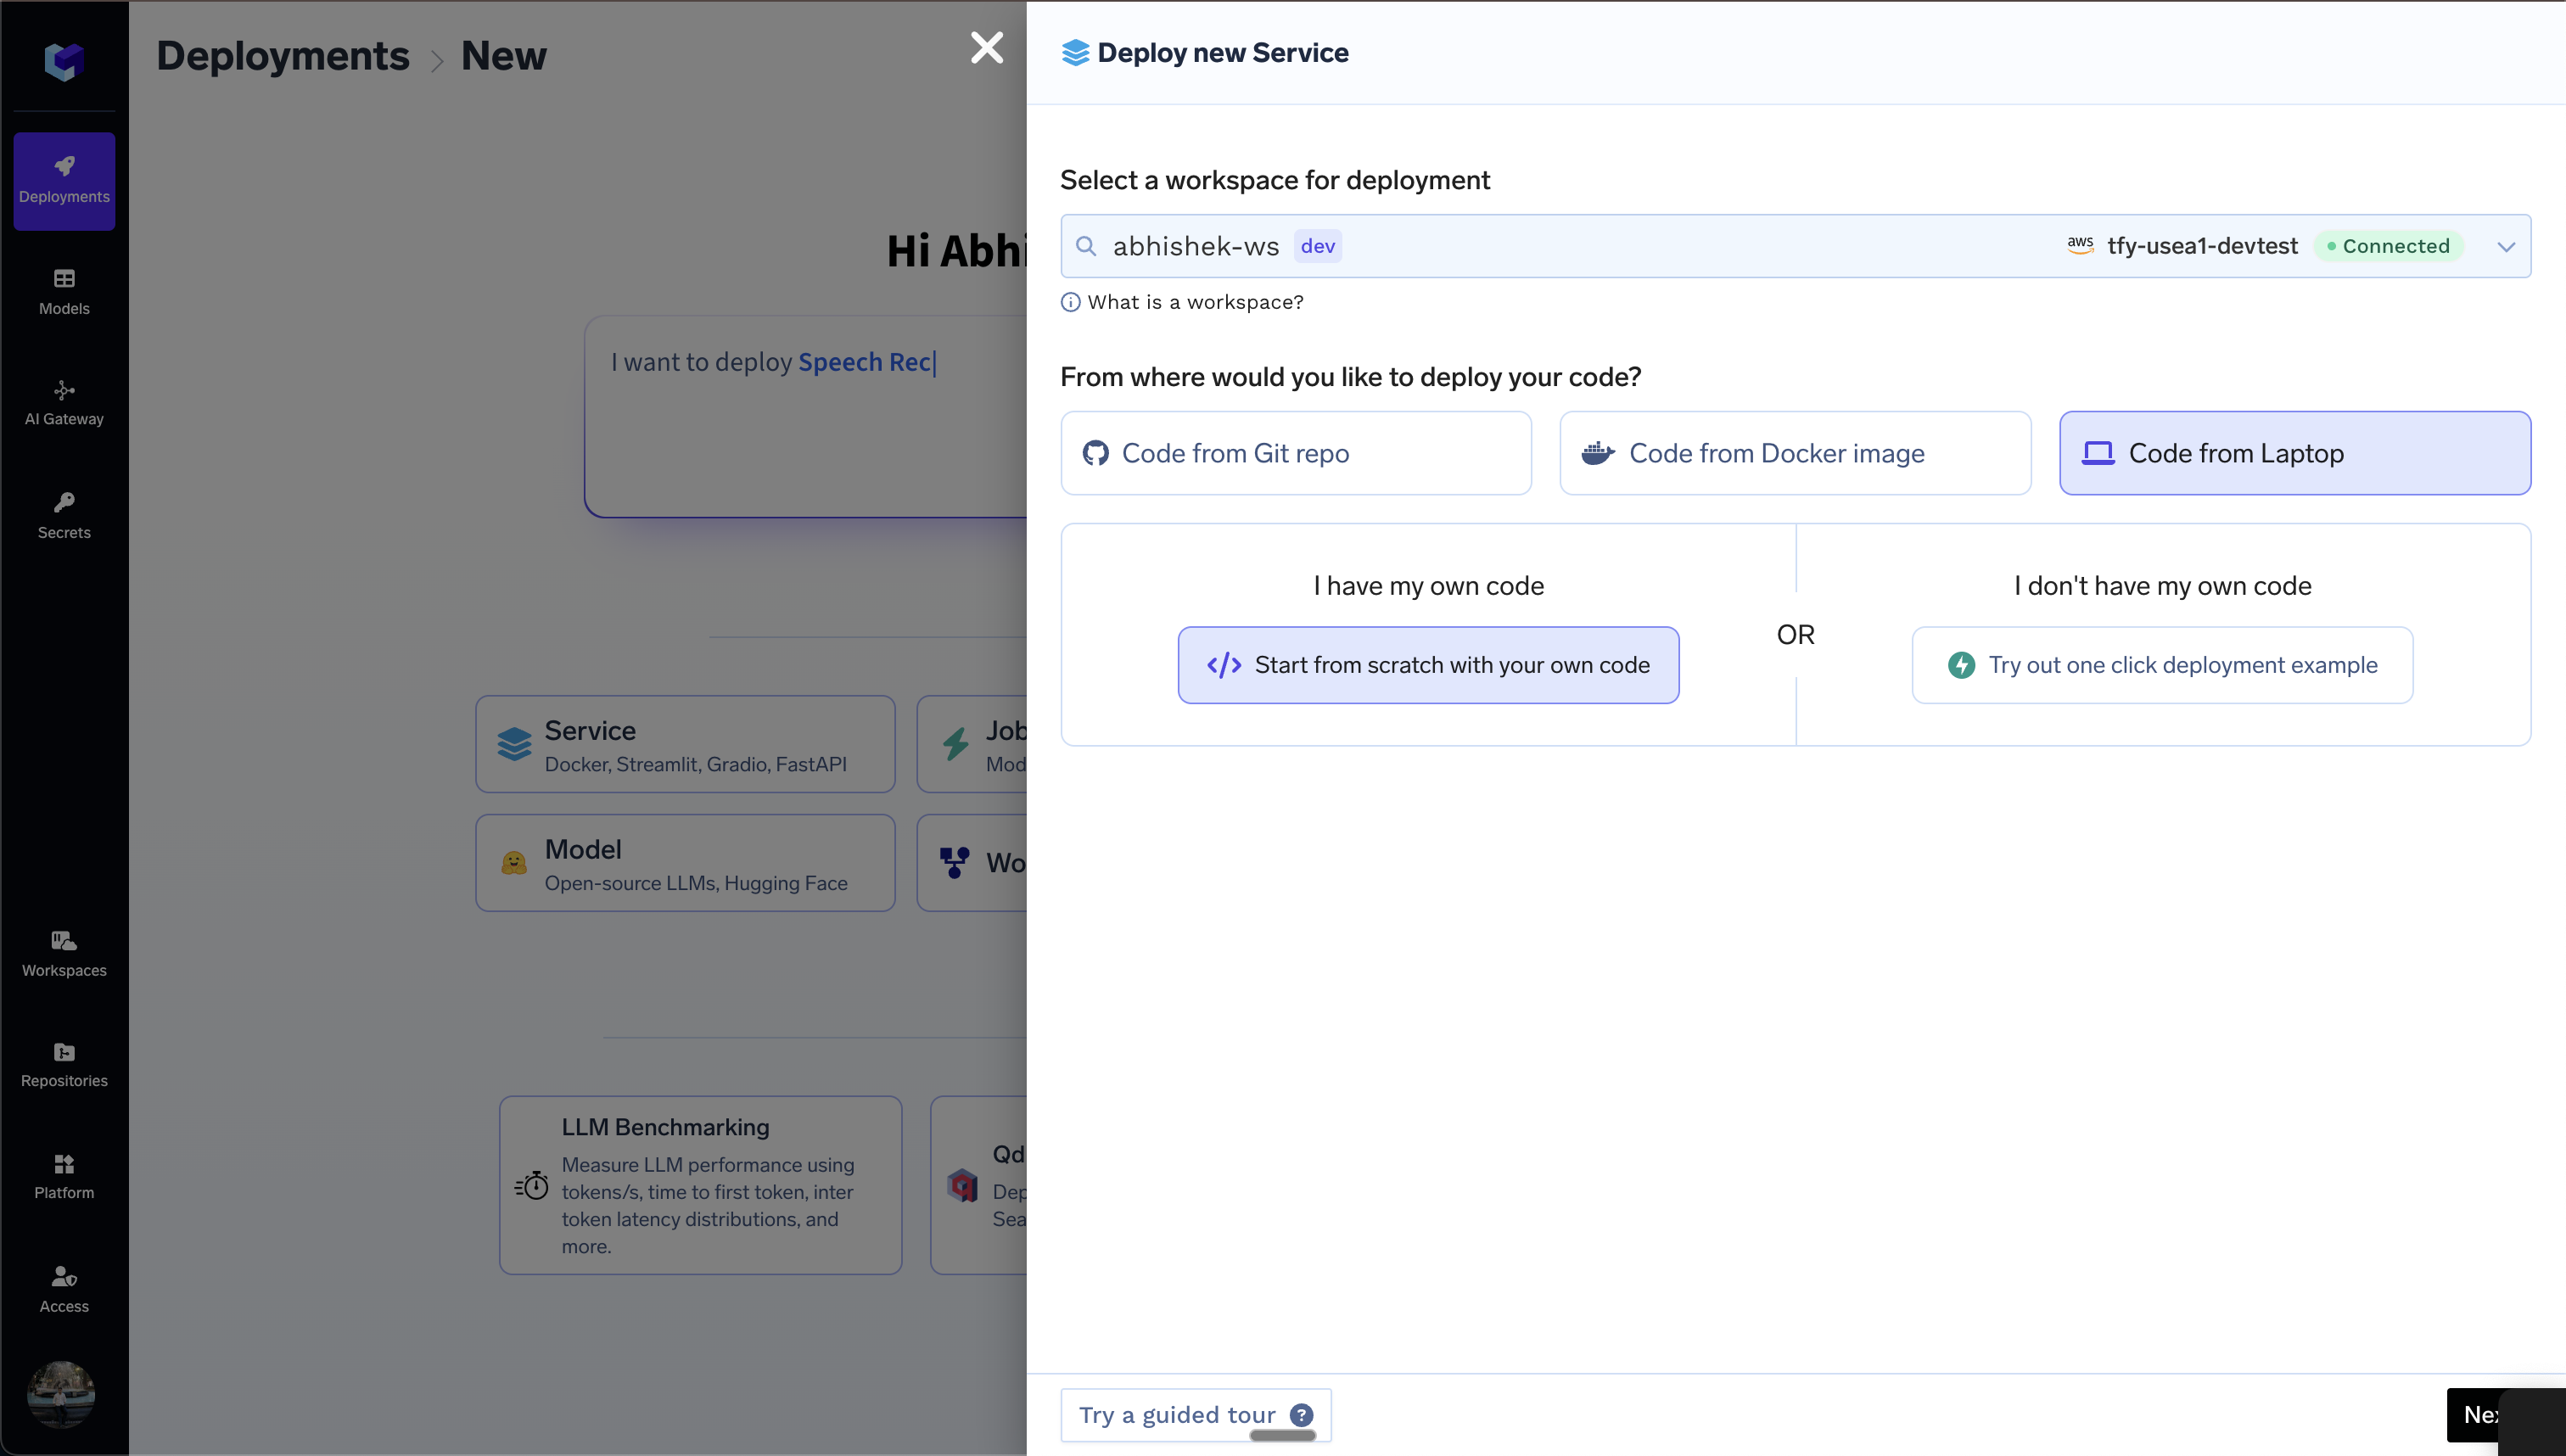 2. Follow the steps to install truefoundry cli and login to truefoundry.
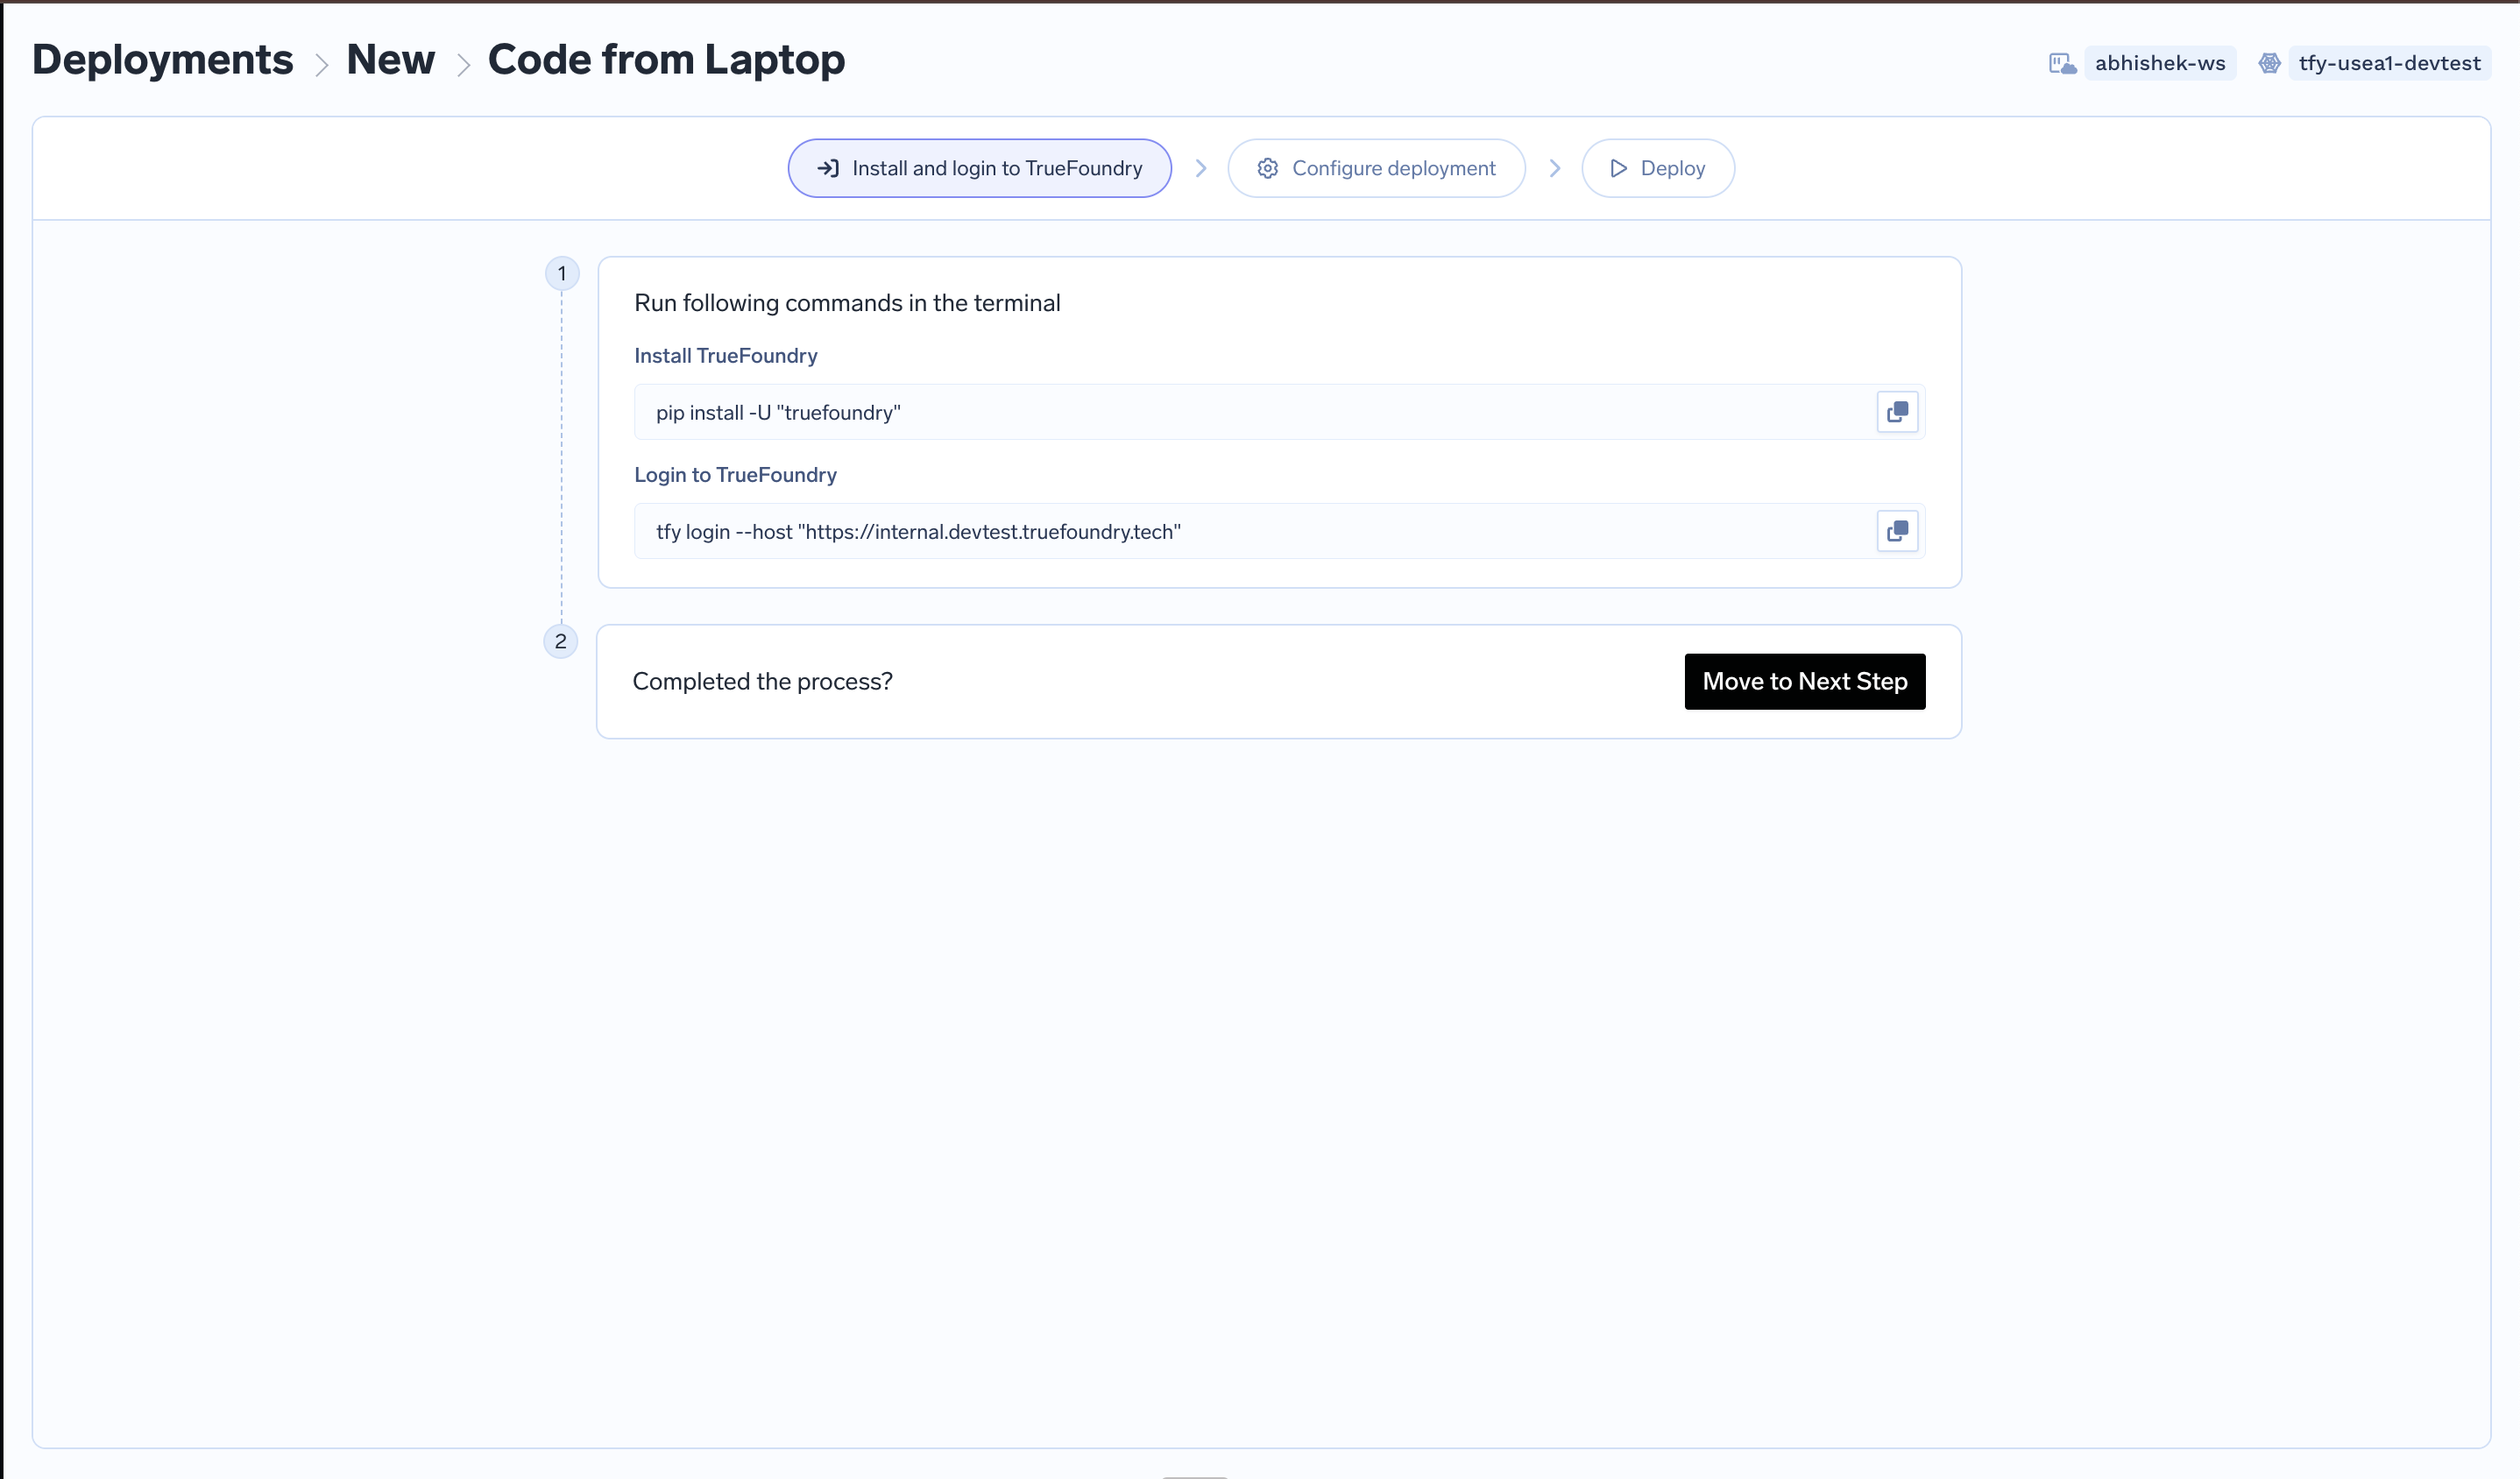 3. Fill up the deployment form with the following key fields:
* **Service Name**: You can give any name which will later be used to identify the service in the TrueFoundry platform.
* **Source Code (Build and deploy Source Code)**: If you have already written a Dockerfile locally, choose the option `Dockerfile (I already have DockerFile)`, else choose the option `Python Code (I don't have Dockerfile)`. The second option will work if you have Python code locally and a requriements.txt file containing the dependencies. The description of the fields can be found in the previous sections.
* **Ports**: This is the port on which the service will be exposed. It will be the same port on which the service is running locally.
* **Resources**: You can start with the default values and later change after the first deployment.
4. Download the deploy.py file, place it in the root of your project. Run it from the same directory where deploy.py is present. The command to run it will be:
```
python deploy.py
```
The TrueFoundry CLI will build the image locally if Docker is installed in the environment, else it will build the image remotely on the TrueFoundry platform. It will then push the image to the docker registry and deploy the service on Kubernetes.
3. Fill up the deployment form with the following key fields:
* **Service Name**: You can give any name which will later be used to identify the service in the TrueFoundry platform.
* **Source Code (Build and deploy Source Code)**: If you have already written a Dockerfile locally, choose the option `Dockerfile (I already have DockerFile)`, else choose the option `Python Code (I don't have Dockerfile)`. The second option will work if you have Python code locally and a requriements.txt file containing the dependencies. The description of the fields can be found in the previous sections.
* **Ports**: This is the port on which the service will be exposed. It will be the same port on which the service is running locally.
* **Resources**: You can start with the default values and later change after the first deployment.
4. Download the deploy.py file, place it in the root of your project. Run it from the same directory where deploy.py is present. The command to run it will be:
```
python deploy.py
```
The TrueFoundry CLI will build the image locally if Docker is installed in the environment, else it will build the image remotely on the TrueFoundry platform. It will then push the image to the docker registry and deploy the service on Kubernetes.